
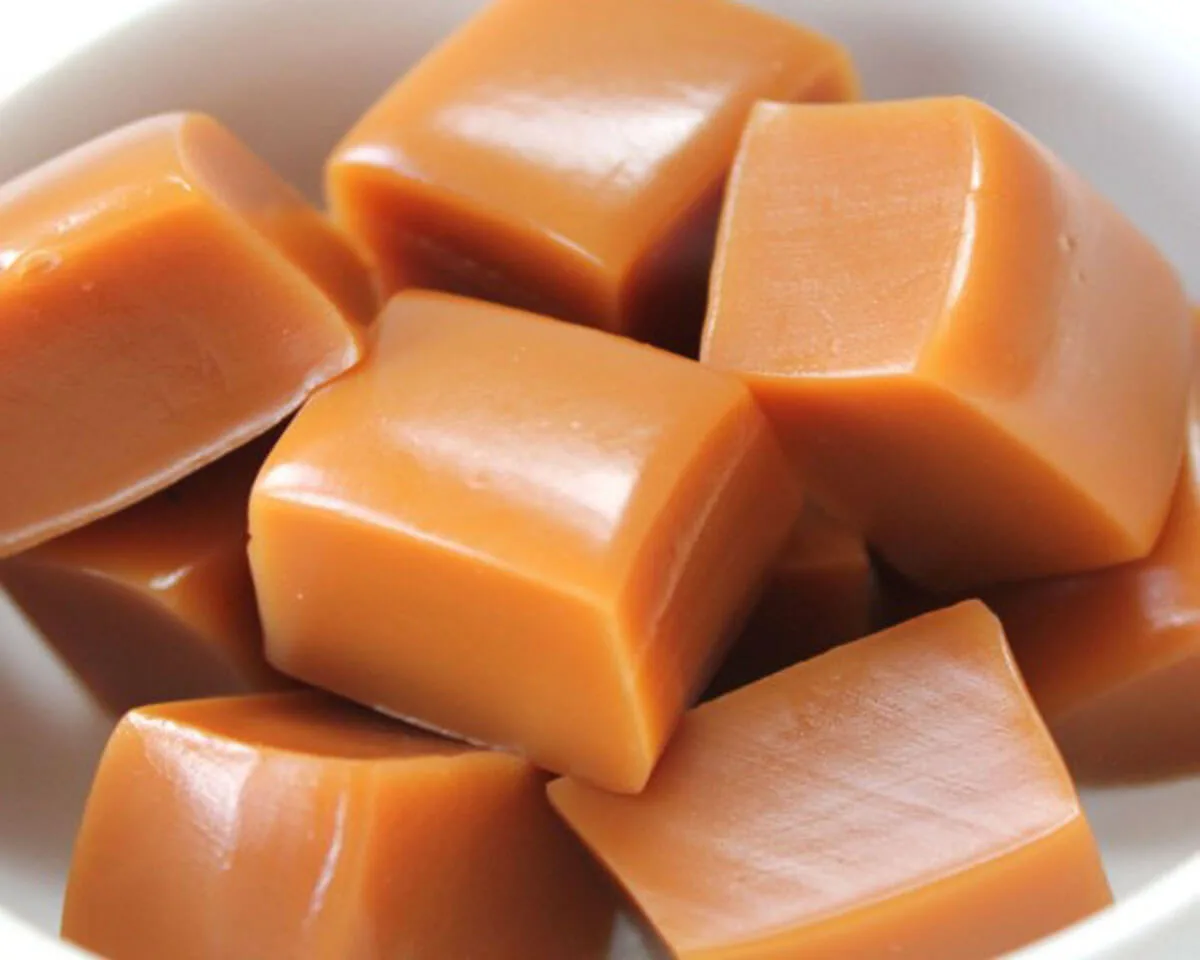
Part 1: The Story Behind My 6-Minute Caramel Recipe Obsession
A Late-Night Ice Cream Emergency
6-minute caramel recipe entered my life during a desperate late-night dessert crisis. I had friends coming over in twenty minutes, and I promised homemade ice cream sundaes. The ice cream sat ready in the freezer, but I forgot the caramel sauce. Store-bought caramel seemed like a betrayal, and every recipe I knew took at least an hour. Then I stumbled across a 6-minute caramel recipe that claimed to use only sugar, water, cream, and butter. I doubted it completely. How could real caramel come together in six minutes? But with guests knocking soon, I had nothing to lose. I grabbed a pan, measured the sugar and water, and watched in amazement as the syrup turned amber before my eyes. Within six minutes, I had a silky, golden caramel sauce that tasted better than anything from a jar. My friends never knew I made it in a panic. That 6-minute caramel recipe saved my reputation and changed how I think about homemade sweets forever.
Why This 6-Minute Caramel Recipe Works So Well
Most people believe caramel requires patience, a candy thermometer, and constant stirring. This 6-minute caramel recipe proves them wrong. The secret lies in the sugar-water ratio and the hands-off approach. You simply combine sugar and water, heat without stirring, and wait for the color to change. The water evaporates, the sugar melts, and then it caramelizes into that beautiful amber hue. Heavy cream stops the cooking process and adds richness. A pinch of salt balances the sweetness perfectly. I have made this 6-minute caramel recipe more than fifty times now, and it fails only when I break the two golden rules: never stir before the sugar dissolves, and never walk away while the color develops. Once you master those two steps, you will never buy store-bought caramel again. Drizzle it over ice cream, swirl it into brownie batter, or eat it straight from the spoon. I will not judge.
Part 2: Essential Ingredients for Perfect 6-Minute Caramel
The Core Four Ingredients
Great 6-minute caramel recipe starts with just four basic ingredients. Granulated sugar forms the backbone. Use white granulated sugar because brown sugar contains molasses that burns too quickly. Water helps the sugar melt evenly before caramelization begins. Tap water works fine unless yours has a strong mineral taste. Heavy cream provides the rich, velvety texture and stops the caramel from hardening into candy. Use cream with at least 36% milk fat. Half-and-half or milk will cause the sauce to curdle or turn out thin. Unsalted butter adds extra gloss and a buttery depth, though the core recipe works without it. For the best 6-minute caramel recipe, add one to two tablespoons of butter right after the cream. Finally, a pinch of salt balances the sweetness and makes the caramel taste more complex. You can also add pure vanilla extract after removing from heat for a warm, aromatic note.
Below is a table comparing ingredient substitutions.
Why Ratios and Temperature Matter
The success of your 6-minute caramel recipe depends entirely on proportions and heat control. One cup of sugar to a quarter cup of water gives you the perfect balance. Too much water prolongs the cooking time beyond six minutes. Too little water causes the sugar to burn before it melts completely. Use a heavy-bottomed pan because thin pans create hot spots that burn caramel in patches. Medium-high heat works best. If your burner runs hot, lean toward medium. If it runs cool, go slightly above medium. Watch the color like a hawk. The syrup goes from clear to pale yellow to amber very quickly. At the first sign of amber, remove the pan from heat immediately. Then pour in the cream slowly while whisking vigorously. The mixture will bubble up violently, so keep your face away. That bubbling means the caramel is cooling and thickening. Whisk until smooth, then add butter and vanilla. Your 6-minute caramel recipe yields about one and a half cups of liquid gold.
Part 3: Step-by-Step Instructions for 6-Minute Caramel
The No-Stir, No-Fail Method
Start your 6-minute caramel recipe by gathering all ingredients before you turn on the heat. Measure one cup of granulated sugar and a quarter cup of water. Pour them into a medium-sized, heavy-bottomed pan. Gently shake the pan to moisten the sugar evenly. Do not stir. Place the pan over medium-high heat. Let the mixture sit untouched. After about a minute, you will see bubbles forming around the edges. The sugar dissolves completely within two minutes. Keep watching. The bubbles grow larger, then shrink as water evaporates. At the three-minute mark, the syrup turns pale yellow. At four to five minutes, you see a rich amber color. This is your cue. Immediately remove the pan from the heat. Slowly pour in half a cup of heavy cream while whisking constantly. The mixture foams and bubbles aggressively, so hold the pan away from your body. Whisk until the foam subsides and the sauce looks smooth.
Adding Flavors and Avoiding Common Mistakes
Once the bubbling stops in your 6-minute caramel recipe, whisk in one teaspoon of pure vanilla extract and a pinch of salt. If you want extra richness, add two tablespoons of unsalted butter at this stage. Whisk until the butter melts completely. Your caramel should be thin and pourable while warm. It thickens considerably as it cools. If your caramel tastes burnt, you left it on the heat too long. If it tastes grainy, sugar crystals formed because you stirred or because the pan sides had undissolved crystals. Brush down the pan sides with a wet pastry brush during cooking if you see crystals forming. If your caramel seized into a hard lump when you added cream, the cream was too cold. Warm the cream slightly before adding, or pour it in extra slowly while whisking vigorously. Most mistakes in a 6-minute caramel recipe are fixable. A seized caramel can be saved by adding a few tablespoons of warm water and reheating gently while whisking. A burnt caramel, unfortunately, must be tossed and restarted.
Part 4: Storing, Serving, and Customizing Your 6-Minute Caramel
Proper Storage Keeps Caramel Fresh
Your homemade 6-minute caramel recipe stores beautifully when you handle it correctly. Let the caramel cool to room temperature. Do not refrigerate it while hot because condensation forms and waters down the sauce. Pour the cooled caramel into a glass jar or airtight container. A mason jar with a tight lid works perfectly. Refrigerate the caramel for up to two weeks. The sauce thickens dramatically in the fridge, turning almost solid. This is normal. To reheat, scoop out what you need into a microwave-safe bowl. Microwave in fifteen-second bursts, stirring between each burst, until pourable. Alternatively, place the jar in a bowl of warm water for ten minutes. Never boil the caramel or microwave it for too long, or the sugar recrystallizes and turns grainy. You can also freeze this 6-minute caramel recipe for up to three months. Use a freezer-safe container. Thaw overnight in the fridge before reheating.
Delicious Ways to Use Your Caramel
A good 6-minute caramel recipe opens up countless dessert possibilities. Drizzle warm caramel over vanilla ice cream, chocolate gelato, or coffee ice cream. Swirl it into brownie batter before baking for salted caramel brownies. Pour it over pancakes, waffles, or French toast for an indulgent breakfast. Stir a spoonful into your morning coffee or hot chocolate for a caramel latte at home. Use it as a topping for cheesecake, pound cake, or apple crisp. Dip apple slices, pretzels, or shortbread cookies into cooled, thicker caramel. Make caramel-filled thumbprint cookies by spooning cooled caramel into the center before baking. Drizzle over roasted pears or baked sweet potatoes for a surprising savory-sweet combination. You can even thin the caramel with a little warm milk and use it as a syrup for milkshakes or cocktails. This 6-minute caramel recipe is so versatile that I often make a double batch and keep one jar in the fridge at all times. You never know when caramel cravings will strike.
Frequently Asked Questions
Why does my 6-minute caramel recipe turn out grainy?
Grainy caramel means sugar crystallized during cooking. This happens if you stir the sugar-water mixture before it dissolves completely, or if sugar crystals stick to the sides of the pan and fall back into the liquid. Use a wet pastry brush to wash down the pan sides during the first two minutes. Also avoid stirring at any point.
Can I make a 6-minute caramel recipe without heavy cream?
Yes, but the texture changes. Substitute full-fat coconut milk for a dairy-free version, or use half-and-half for a lighter sauce. Milk makes the caramel thin and prone to curdling. For the richest, smoothest result, stick with heavy cream.
How do I fix caramel that is too thin?
Simmer the finished caramel on low heat for one to two minutes without stirring. The excess water evaporates and the sauce thickens. If it still runsny, whisk in a small pat of cold butter off the heat. Do not boil aggressively because that burns the sugar.
Can I double this 6-minute caramel recipe?
Yes, but use a larger pan. Doubling requires more surface area to evaporate water evenly. A standard saucepan becomes crowded and increases the risk of burning. Double the ingredients and watch the color carefully. It may take an extra minute.
How do I prevent the caramel from burning?
Use a light-colored pan so you see the color change clearly. Set a timer for four minutes, then watch nonstop. Caramel goes from perfect to burnt in under thirty seconds. Remove the pan from heat the moment you see deep amber. Residual heat continues cooking, so act fast.
Is homemade caramel cheaper than store-bought?
Absolutely. One batch of this 6-minute caramel recipe costs about one dollar in ingredients and makes the equivalent of a twelve-dollar store-bought jar. You also control the quality and avoid preservatives.
Conclusion
The 6-minute caramel recipe proves that homemade sweets do not require hours of patience or complicated equipment. With sugar, water, cream, and a hot pan, you create a silky, golden caramel that elevates any dessert. The no-stir method and quick cooking time make this recipe foolproof once you learn to watch the color change. Store leftovers in the fridge, reheat gently, and experiment with add-ins like vanilla, sea salt, or bourbon. Whether you drizzle it over ice cream on a weeknight or impress guests with homemade caramel brownies, this recipe delivers every time. Grab your pan, measure your sugar, and discover how fast real caramel comes together. Your sweet tooth will thank you.