Christmas Sugar Cookie Balls are the epitome of festive sweetness, embodying the joy and spirit of the holiday season in every delightful bite. These charming confections, often known as truffles or cookie dough bites, encapsulate the essence of cherished sugar cookies transformed into bite-sized treats that dazzle both the eyes and taste buds.
At the heart of these Christmas Sugar Cookie Balls lies the nostalgic essence of sugar cookies—a beloved holiday staple. The recipe begins with a classic sugar cookie dough, enriched with buttery goodness, vanilla essence, and the perfect hint of sweetness. However, what makes these treats distinct is their transformation from traditional cookie form into delightful, bite-sized spheres.
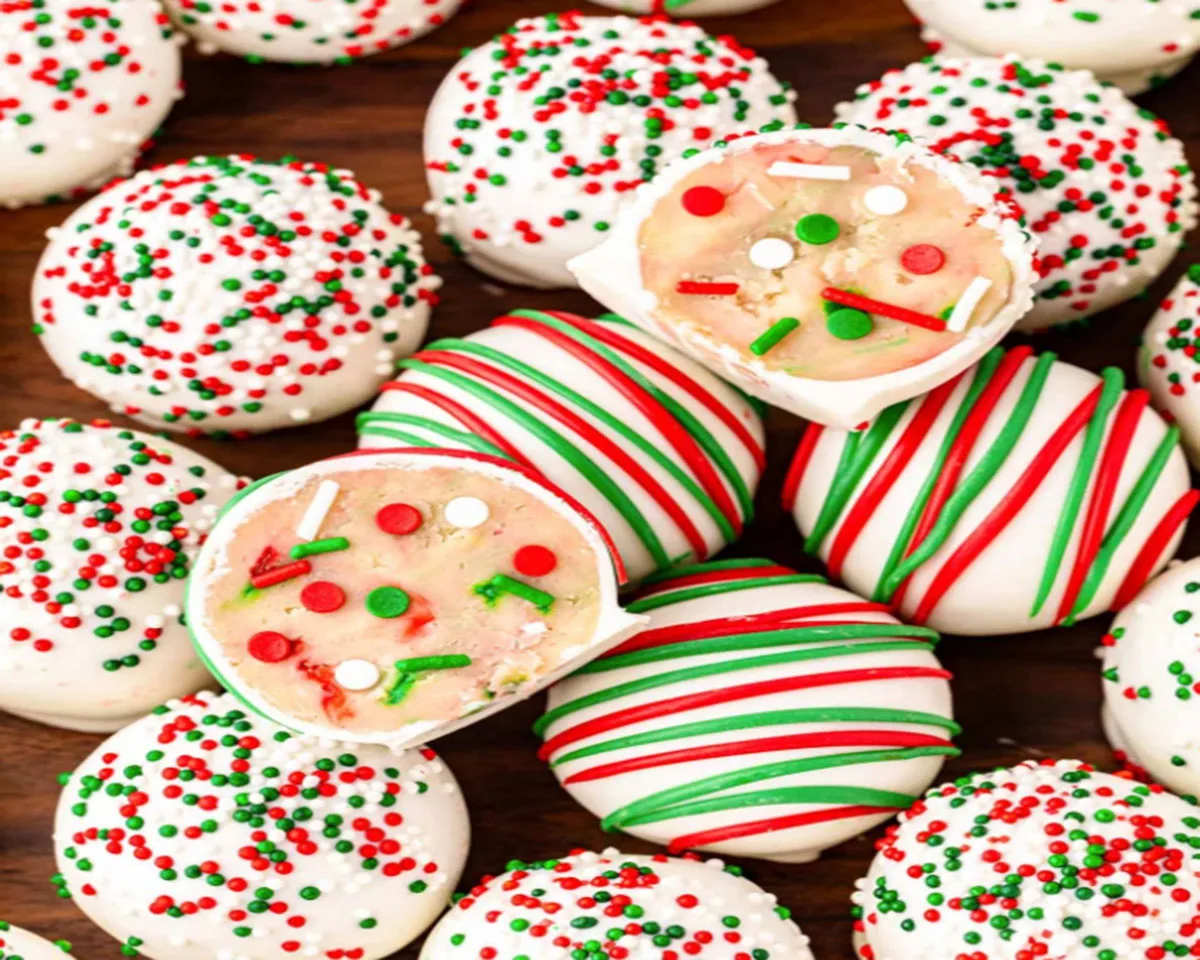
The process involves crumbling or blending the baked sugar cookies into fine crumbs, marrying them with luscious cream cheese or frosting, and then molding them into dainty balls. This amalgamation of crumbled cookies and creamy binding agents creates a delectable, melt-in-your-mouth texture, offering a delightful contrast between the crumbly cookie interior and the smooth exterior.
Perfect for gifting, sharing at festive gatherings, or simply adorning your holiday dessert table, Christmas Sugar Cookie Balls encapsulate the spirit of giving and celebration. They evoke cherished memories of baking sessions and joyous moments spent decorating treats with loved ones, making them a cherished part of holiday traditions.
Full recipe next page