
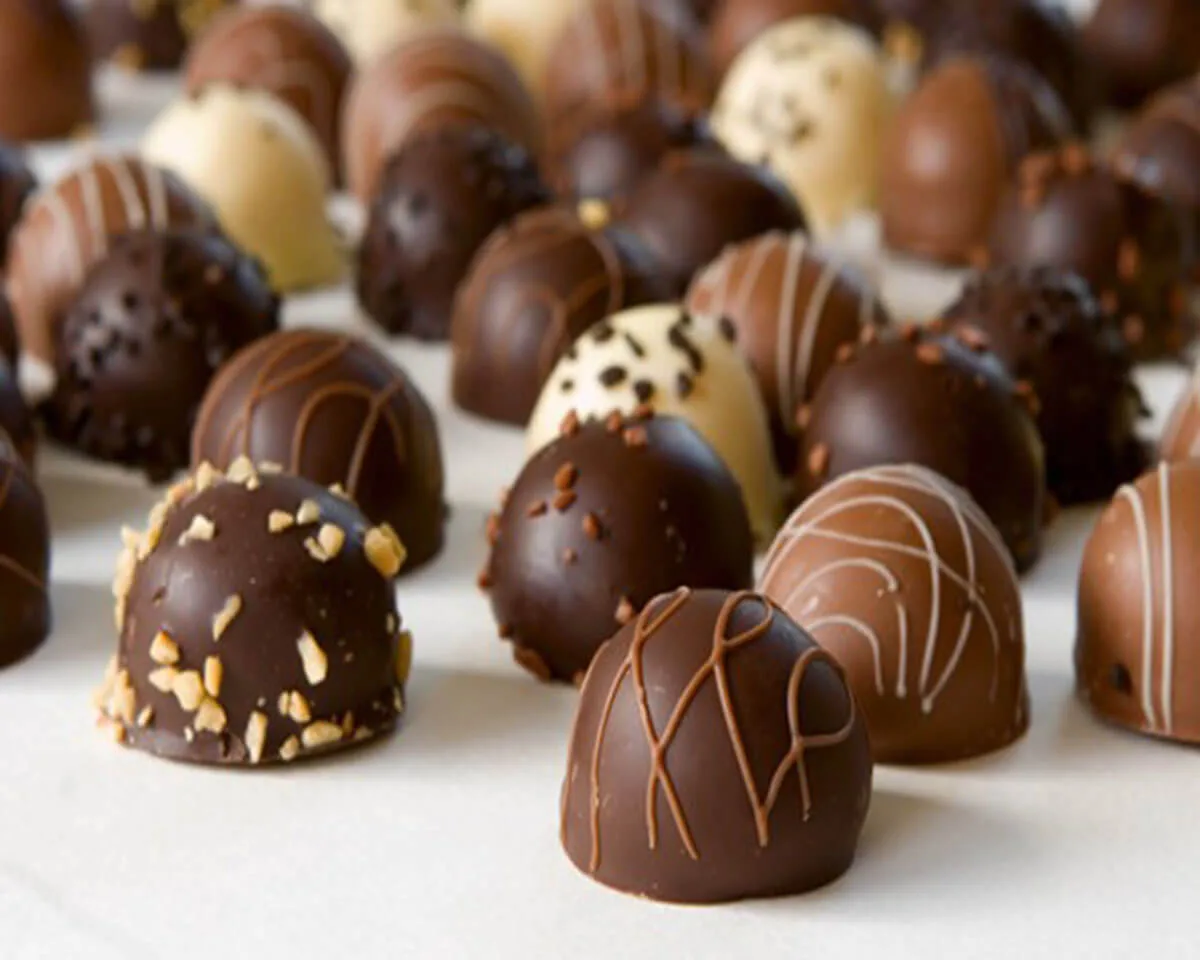
I still remember the first time I made coconut and chocolate truffles in my tiny kitchen. It was a rainy Sunday afternoon, and I had a bag of shredded coconut sitting on the counter for weeks. I had no idea what to do with it. Then, I decided to melt some dark chocolate and just go for it. The result was absolutely magical. Those little coconut and chocolate truffles disappeared within hours. My family kept coming back for more, and I knew I had stumbled onto something truly special. If you’ve ever wanted to make coconut and chocolate truffles at home, this guide is entirely for you.
Coconut and Chocolate Truffles: What They Are and Why You’ll Love Them
Coconut and chocolate truffles are bite-sized confections that combine the deep, rich flavor of dark chocolate with the chewy, tropical sweetness of shredded coconut. They’re elegant, indulgent, and surprisingly simple to make. Once you understand the basic concept, you’ll want to make them for every occasion.
What Makes These Truffles Truly Special
First and foremost, the combination of flavors is what sets these truffles apart. Dark chocolate brings a bold, slightly bitter depth, while coconut adds a natural sweetness and a satisfying chew. Together, they create a perfectly balanced bite that feels luxurious without being overly heavy. Moreover, these truffles don’t require any baking. You simply combine the filling ingredients, shape them into balls, and dip them in chocolate. That’s really all there is to it. Additionally, their small size makes them perfect for sharing at parties, gifting to friends, or simply enjoying with an afternoon cup of coffee.
Key Ingredients That Make the Magic Happen
To make truly exceptional coconut and chocolate truffles, you need to start with quality ingredients. Here’s a quick breakdown of what you’ll need:
| Ingredient | Amount | Purpose |
|---|---|---|
| Grated coconut | 220g | Fills and texturizes the truffle center |
| Sugar | 200g | Sweetens the coconut filling |
| Water | 120ml | Dissolves the sugar into a smooth syrup |
| Vanilla essence | 1 tablespoon | Adds warmth and depth of flavor |
| Dark chocolate | 200g | Forms the glossy outer shell coating |
| Butter | 25g | Smooths and glosses the melted chocolate |
Furthermore, using high-quality dark chocolate makes a significant difference in the final result. Choose a chocolate with at least 60% cocoa content for the richest, most satisfying flavor.
How to Make Coconut and Chocolate Truffles from Scratch
Making these truffles at home is easier than most people expect. The process breaks down into two simple stages: preparing the coconut filling and coating the balls in chocolate. Let’s walk through each step clearly and confidently.
Preparing the Sweet Coconut Filling
Start by combining the water, sugar, and vanilla essence in a small saucepan. Place it over medium heat and stir continuously until the sugar dissolves completely. You don’t need to bring the mixture to a full boil. Instead, simply heat it enough to dissolve every granule of sugar. Next, remove the pan from heat and add the grated coconut. Stir everything together until the mixture forms a cohesive, dough-like consistency. Then, transfer the mixture to a bowl and let it cool. For best results, refrigerate it for at least two hours. Chilling the mixture firms it up significantly, which makes rolling the balls much easier. Once it’s cold, put on latex gloves or grease your hands lightly with sunflower oil, and start rolling the mixture into small, even balls. Aim for about one inch in diameter.
Coating the Truffles in Melted Chocolate
Once your coconut balls are ready, it’s time for the most satisfying part. Melt the dark chocolate and butter together using a double boiler or microwave. Stir the mixture often to keep it smooth and glossy. Then, pierce each coconut ball with a toothpick and dip it carefully into the melted chocolate. Rotate the ball slowly to ensure even coverage on all sides. Allow the excess chocolate to drip off naturally, then set each truffle on a parchment-lined tray. After coating all the balls, place the tray in the refrigerator until the chocolate shell sets completely. This usually takes about 30 minutes. The result is a firm, glossy exterior with a tender coconut center that melts beautifully in your mouth.
Pro Tips for Perfect Coconut Chocolate Truffles Every Time
Even simple recipes have a few tricks that take them from good to genuinely unforgettable. These practical tips help you avoid common pitfalls and unlock the full potential of your coconut chocolate truffles.
Common Mistakes to Avoid
First, don’t skip the chilling step. Many people try to roll warm coconut filling, and it sticks to everything. Always chill the mixture thoroughly before shaping. Second, avoid overheating the chocolate. Overheated chocolate becomes grainy and loses its smooth texture. Therefore, melt it slowly and stir it frequently. Third, make sure your coconut balls are dry and cold before dipping them. Any moisture on the surface of the ball can cause the chocolate to seize up. Additionally, work quickly when dipping, since the warmth of your hands can begin to soften the balls. Finally, use even-sized portions so that all your truffles look consistent and professional. A small cookie scoop works perfectly for this.
Creative Variations Worth Trying
Once you’ve mastered the classic recipe, you can easily explore some fun variations. For example, try rolling the finished truffles in toasted coconut flakes for added crunch and visual appeal. Alternatively, add a teaspoon of rum extract to the filling for a grown-up tropical twist. You can also use white chocolate for the coating instead of dark chocolate, which creates a sweeter, creamier profile. Furthermore, a pinch of sea salt on top of each truffle right after dipping enhances the flavor dramatically. These small changes keep the recipe exciting and allow you to tailor the truffles to any occasion or personal preference.
Serving, Storing, and Gifting Your Coconut and Chocolate Truffles
Now that you’ve made a beautiful batch of coconut and chocolate truffles, it’s time to think about how to serve and share them properly. A little presentation effort goes a remarkably long way.
How to Serve These Truffles the Right Way
Coconut and chocolate truffles taste best when served slightly chilled, straight from the refrigerator. Arrange them on a white plate or a tiered dessert stand for an elegant, eye-catching look. They pair beautifully with espresso, hot tea, or even a glass of red wine. Moreover, these truffles make a stunning addition to dessert boards at holiday gatherings or dinner parties. If you’d like to add variety to the presentation, place some truffles in small paper candy cups. This approach makes them easy to pick up and gives the display a professional, bakery-style finish that impresses every guest.
Storage Tips and Gifting Ideas
Store your coconut and chocolate truffles in an airtight container in the refrigerator. They stay fresh for up to two weeks, making them ideal for preparing well in advance. If you plan to gift them, place the truffles in a decorative box lined with parchment paper or tissue. Furthermore, a ribbon and a handwritten tag add a personal touch that store-bought candy can never replicate. You can also freeze the truffles for up to three months. Simply thaw them overnight in the refrigerator before serving. Whether you’re gifting them for birthdays, holidays, or just because, homemade coconut and chocolate truffles always leave a lasting, heartfelt impression.
Frequently Asked Questions
Can I use sweetened shredded coconut instead of grated coconut? Yes, you can use sweetened shredded coconut. However, keep in mind that the filling will taste sweeter overall. Consider reducing the sugar slightly to balance the flavor and prevent it from becoming overly sweet.
What type of chocolate works best for coating the truffles? Dark chocolate with at least 60% cocoa content works best. It provides a rich, bold flavor that complements the sweet coconut filling perfectly. However, you can also use milk chocolate or white chocolate depending on your personal taste preference.
How long do coconut and chocolate truffles last? When stored in an airtight container in the refrigerator, these truffles stay fresh for up to two weeks. You can also freeze them for up to three months and thaw them overnight before serving.
Can I make these truffles dairy-free? Yes. Simply replace the butter with coconut oil. Coconut oil blends seamlessly into the melted chocolate and adds a subtle extra coconut flavor to the coating without any dairy.
Why is my chocolate coating cracking after it sets? Cracking usually happens when the coconut filling is too cold and causes the chocolate to cool too quickly. Let the coconut balls sit at room temperature for a few minutes before dipping to prevent this common issue.
Conclusion
Coconut and chocolate truffles are one of those rare treats that feel impressive but remain completely achievable at home. With just a handful of pantry ingredients and a little patience, you can create something genuinely beautiful and delicious. Whether you’re making them for a party, as a heartfelt gift, or simply because you deserve a treat, these truffles never disappoint. So go ahead, grab that bag of coconut, melt some good dark chocolate, and start rolling. Your kitchen is about to smell absolutely incredible.
Full recipe:
Ingredients:
For the Filling:
- 220 g grated coconut
- 200g sugar
- 120 ml water
- 1 tablespoon vanilla essence
For the Coating:
- 200 g dark chocolate, melted
- 25g butter
Preparation:
- In a saucepan, combine water with sugar and vanilla. Heat, stirring until the sugar is completely dissolved. It’s not necessary to boil extensively; the goal is to dissolve the sugar thoroughly.
- Remove from heat and add the coconut, mixing well to form a cohesive dough.
- Let the mixture cool, preferably resting in the fridge for a couple of hours to make it easier to work with.
- Once cooled, shape the mixture into balls. Use latex gloves or grease your hands with sunflower oil to prevent sticking.
- Melt the chocolate with butter in a double boiler or in the microwave. Mix thoroughly.
- Pierce the coconut balls with a toothpick and dip them evenly on all sides in the melted chocolate. Allow excess chocolate to drain, then place the coated balls on a flat surface lined with parchment paper.
- Keep the coconut and chocolate balls chilled until serving time to ensure the chocolate solidifies.
Enjoy your delicious chocolate-coated coconut balls!