Oreo Cheesecake: A Decadent Dessert Delight
Oreo cheesecake is a luscious and indulgent dessert that combines the rich and creamy texture of cheesecake with the irresistible taste of Oreo cookies. This delightful treat has captured the hearts of dessert lovers around the world with its velvety filling and crunchy Oreo crust. In this blog post, we will explore the secrets to creating the perfect Oreo cheesecake, from the crust to the filling, and provide tips on baking, serving, and customizing this delectable dessert.
I. Introduction
A. Overview of Oreo cheesecake
Oreo cheesecake is a variation of the classic cheesecake that incorporates Oreo cookies into both the crust and the filling. The Oreo crust adds a delightful chocolatey crunch, while the Oreo crumbs in the creamy filling infuse the dessert with a distinct Oreo flavor. The combination of smooth and creamy cheesecake with the beloved taste of Oreo cookies makes this dessert a favorite among both kids and adults.
B. Tempting appeal and popularity of the dessert
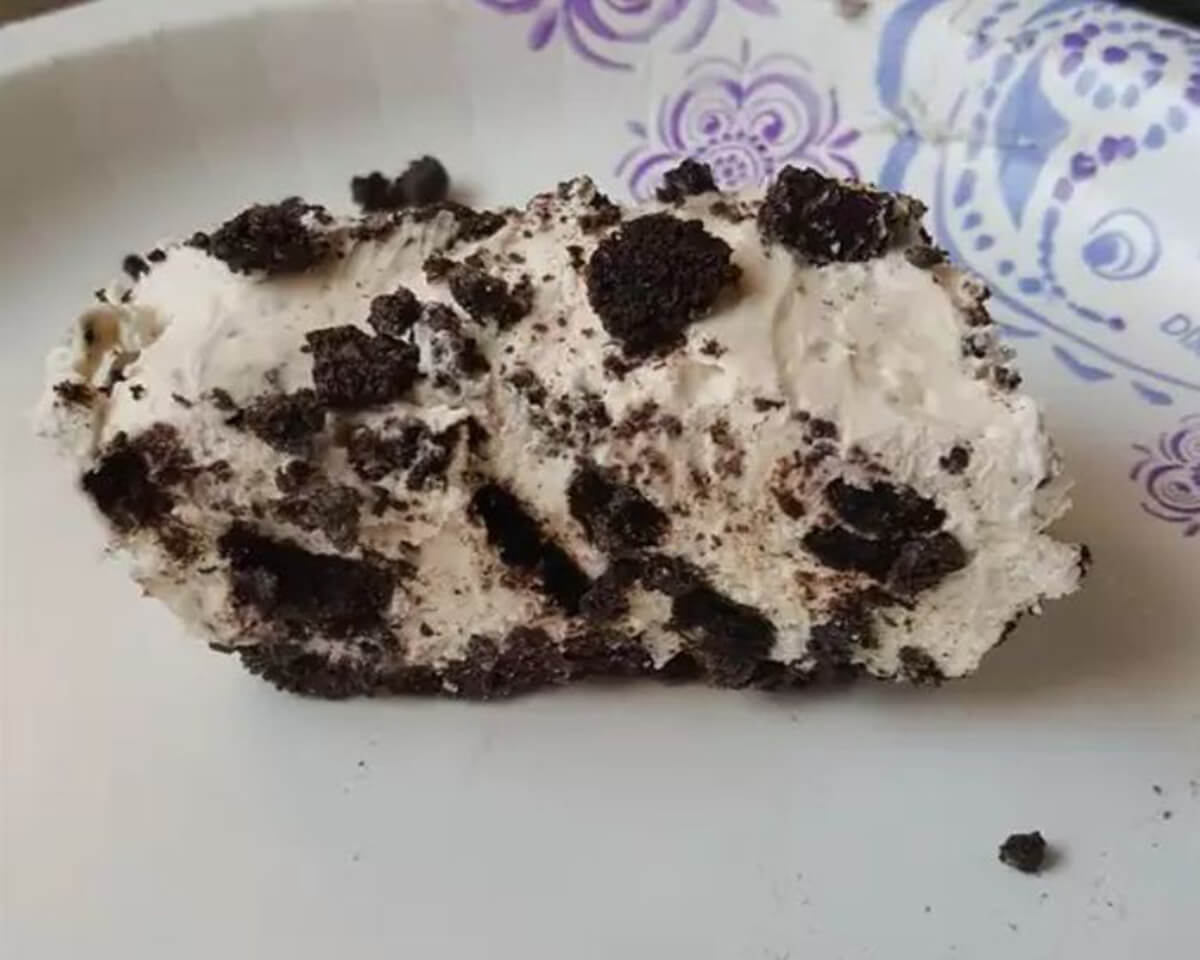
The popularity of Oreo cheesecake can be attributed to its irresistible flavor and the appeal of Oreo cookies. The creamy and tangy cheesecake filling pairs perfectly with the chocolatey and slightly salty Oreo crust, creating a harmonious balance of flavors. The contrasting textures of the smooth filling and the crunchy crust add an additional layer of enjoyment to every bite. Oreo cheesecake is often featured in bakeries, dessert shops, and special occasions due to its ability to satisfy even the most discerning sweet tooth.
II. The Perfect Oreo Crust
A. Using Oreo cookies for the crust
The Oreo crust serves as the foundation for the cheesecake, providing a delectable chocolatey base. To create the perfect Oreo crust:
- Begin by crushing Oreo cookies into fine crumbs. This can be done using a food processor or by placing the cookies in a sealed plastic bag and crushing them with a rolling pin.
- Remove the cream filling from the Oreo cookies, leaving only the chocolate cookie part. The cream filling can be set aside for later use in the filling if desired.
- Combine the Oreo crumbs with melted butter, ensuring that the crumbs are evenly coated. The butter acts as a binding agent, helping the crust hold its shape.
B. Preparing and pressing the crust
- Transfer the Oreo crumb mixture to a greased or parchment-lined springform pan. Use the back of a spoon or a flat-bottomed glass to press the mixture firmly and evenly onto the bottom of the pan. Press the crumbs slightly up the sides of the pan for a more defined crust.
- Place the crust in the refrigerator for about 15-20 minutes to allow it to set and firm up. Chilling the crust helps prevent it from crumbling when the cheesecake filling is added.
III. Creamy and Indulgent Cheesecake Filling
A. Choosing the right cream cheese
Cream cheese is the key ingredient that gives the cheesecake its creamy and velvety texture. It is important to use high-quality cream cheese for the best results. Opt for full-fat cream cheese, as reduced-fat versions may affect the texture and creaminess of the filling.
B. Incorporating Oreo crumbs into the filling
To infuse the cheesecake filling with Oreo flavor, finely crush a portion of the Oreo cookies (with the cream filling) and fold them into the cream cheese mixture. The Oreo crumbs should be evenly distributed throughout the filling to ensure a consistent flavor in every bite.
IV. Baking and Cooling the Cheesecake
A. Baking the cheesecake to perfection
- Preheat the oven to the recommended temperature specified in your recipe. Typically, cheesecakes are baked at a lower temperature (around 325°F/160°C) to ensure gentle and even cooking.
- Place the springform pan with the prepared crust and filling on a baking sheet to catch any potential drips or spills.
- Bake the cheesecake in the preheated oven for the specified time. It is important to avoid overbaking the cheesecake, as it can lead to a dry and cracked texture.
- To prevent cracks on the surface of the cheesecake, it is advisable to use a water bath. This involves placing the springform pan in a larger pan filled with hot water. The steam created by the water bath helps to provide a more even baking environment and reduces the likelihood of cracks.
B. Allowing proper cooling and chilling time
After baking, it is crucial to allow the cheesecake to cool properly before refrigerating it. This process helps the cheesecake set and firm up, resulting in a smooth and velvety texture. Follow these steps for cooling and chilling:
- Remove the cheesecake from the oven and let it cool at room temperature for about an hour. This gradual cooling helps prevent sudden temperature changes that can cause cracks.
- Once the cheesecake has cooled to room temperature, cover it with plastic wrap and refrigerate it for at least 4 hours, or preferably overnight. Chilling the cheesecake allows it to fully setand develop its flavors, resulting in a creamy and delicious texture.
V. Topping and Garnishing Options
A. Whipped cream and chocolate sauce
One classic way to garnish Oreo cheesecake is with a generous dollop of freshly whipped cream. To make whipped cream, simply beat heavy cream with sugar until soft peaks form. Pipe or spoon the whipped cream onto the chilled cheesecake just before serving. For an extra touch of indulgence, drizzle some chocolate sauce over the whipped cream. You can use store-bought chocolate sauce or make your own by melting chocolate and adding a touch of cream.
B. Oreo cookie crumbs and chocolate curls
To enhance the Oreo experience, sprinkle some crushed Oreo cookie crumbs over the top of the cheesecake. This adds a lovely visual appeal and an extra burst of Oreo flavor. You can crush a few Oreos by placing them in a plastic bag and crushing them with a rolling pin.
For an elegant touch, create chocolate curls to garnish the cheesecake. Use a vegetable peeler to shave curls off a bar of chocolate. Gently press the curls onto the whipped cream or directly onto the cheesecake.
Feel free to get creative with other toppings and garnishes, such as additional Oreo cookies, chopped nuts, or a drizzle of caramel sauce. The choice is yours!
VI. Serving and Presentation of Oreo cheesecake
A. Cutting and serving the cheesecake
To achieve clean and smooth slices of cheesecake:
- Start by running a knife under hot water and wiping it clean with a towel. This helps prevent the knife from sticking to the cheesecake as you cut.
- Slowly and gently cut into the cheesecake, using a straight-down motion. Clean the knife between each slice for neater cuts.
- Serve each slice with a spatula or a cake server to ensure easy removal from the pan.
B. Creative plating and presentation ideas
Consider the following presentation ideas to make your Oreo cheesecake visually appealing:
- Place a whole Oreo cookie on each slice as a decorative touch.
- Drizzle chocolate sauce in artistic patterns on the serving plates before placing the cheesecake slice.
- Sprinkle a dusting of powdered sugar over the top of the cheesecake for an elegant finish.
Experiment with different plating styles and decorations to make your Oreo cheesecake a feast for the eyes as well as the taste buds.
VII. Variations and Additions of Oreo Cheesecake
A. Oreo cookie chunks in the filling
For an extra burst of Oreo goodness, you can add chopped Oreo cookie chunks to the cheesecake filling. Simply fold the chopped Oreos into the cream cheese mixture before pouring it into the crust. This adds texture and delightful pockets of Oreo flavor throughout the cheesecake.
B. Swirls of chocolate or caramel
To create beautiful swirls of chocolate or caramel in your Oreo cheesecake, follow these steps:
- Prepare the cheesecake filling as instructed in the recipe and pour it into the Oreo crust.
- Drizzle melted chocolate or caramel sauce over the surface of the filling.
- Use a toothpick or a skewer to gently swirl the sauce into the filling, creating a marbled effect.
Baking the cheesecake, as usual, will set the swirls in place, resulting in an eye-catching presentation.
VIII. Storage and Shelf Life
A. Properly storing leftover cheesecake
If you have any leftover Oreo cheesecake, it’s important to store it properly to maintain its freshness. Follow these guidelines:
- Remove any toppings or garnishes before storing the cheesecake.
- Cover the cheesecake tightly with plastic wrap or transfer it to an airtight container.
- Place the cheesecake in the refrigerator to keep it chilled.
B. Estimated shelf life and best practices
Oreo cheesecake can typically be stored in the refrigerator for up to 4-5 days. However, it is best enjoyed within the first few days to ensure optimal flavor and texture. The crust may soften slightly over time, but the taste will still be delicious.
To serve leftover cheesecake, remove it from the refrigerator and let it sit at room temperature for about 20-30 minutes to take the chill off before enjoying it.
IX. Classic Oreo cheesecake
Ingredients:
• 28 Oreos
• 6 tbsp melted salted butter
• 1 cup powdered sugar
• 16 oz cream cheese, softened
• 1 tsp vanilla extract
• ½ tsp salt
• 16 oz cool whip, thawed
• 15 Oreos, crushed
• ⅔ cup semi-sweet chocolate chips
• ½ cup heavy cream
Instructions:
1. Crush 28 Oreos in a food processor and combine with melted butter and salt. Press the mixture into a 10-inch springform pan.
2. Mix cream cheese, sugar, vanilla, and salt until light and fluffy. Fold in cool whip and crushed Oreos until combined.
3. Pour the mixture over the crust.
4. Melt chocolate chips and heavy cream in the microwave, then pour over the cheesecake.
5. Refrigerate for at least 6 hours.
6. Top with whipped cream and Oreos.
X. Conclusion
Oreo cheesecake is a truly indulgent dessert that combines the creaminess of cheesecake with the irresistible flavor of Oreo cookies. By perfecting the Oreo crust, incorporating Oreo crumbs into the filling, and choosing complementary toppings and garnishes, you can create a decadent dessert that will impress your family and friends. Whether you enjoy it plain or with a variety of creative additions, Oreo cheesecake is a dessert delight that is sure to satisfy any sweet tooth.
XI. FAQs About Oreo cheesecake
A. Can I use reduced-fat cream cheese for the filling?
While reduced-fat cream cheese can be used, it may affect the texture and creaminess of the filling. Full-fat cream cheese is recommended for the best results, as it provides a richer and smoother texture.
B. How can I prevent cracks on the surface of the cheesecake?
To prevent cracks on the surface of your cheesecake, ensure you are baking it in a water bath. Additionally, avoid overmixing the batter, as overmixing can incorporate excess air, leading to cracks. Gradual cooling at room temperature after baking and proper chilling in the refrigerator also helps prevent cracks.
C. Can I make a no-bake version of Oreo cheesecake?
Yes, you can make a no-bake Oreo cheesecake by using a combination of cream cheese, whipped cream, and gelatin or a similar setting agent. There are many no-bake Oreo cheesecake recipes available that can be prepared without the need for baking.
D. Can I use flavored Oreo cookies for the crust?
Yes, you can use flavored Oreo cookies to add an extra dimension of flavor to the crust. There are various flavors available, such as mint, peanut butter, or even birthday cake. Choose your favorite flavor to customize the crust to your liking.
E. Can I substitute Oreos with other cookies?
Certainly! While Oreos are a classic choice for the crust, you can substitute them with other chocolate sandwich cookies or even chocolate graham crackers. Choose cookies that have a similar texture and flavor to Oreos to achieve the desired results.