Oreo Delight Cake: Indulge in Layers of Decadence
Introduction
Get ready to embark on a delectable journey through the world of desserts with the irresistible Oreo Delight Cake. This cake is not just a dessert; it’s an experience that tantalizes your taste buds and delights your senses. The marriage of the iconic Oreo cookie with layers of velvety goodness creates a symphony of flavors that will leave you craving for more. Whether you’re a baking enthusiast or just someone who appreciates a good dessert, this guide will walk you through crafting the perfect Oreo Delight Cake that will wow your friends and family.
Unveiling the Magic of Oreo Delight Cake
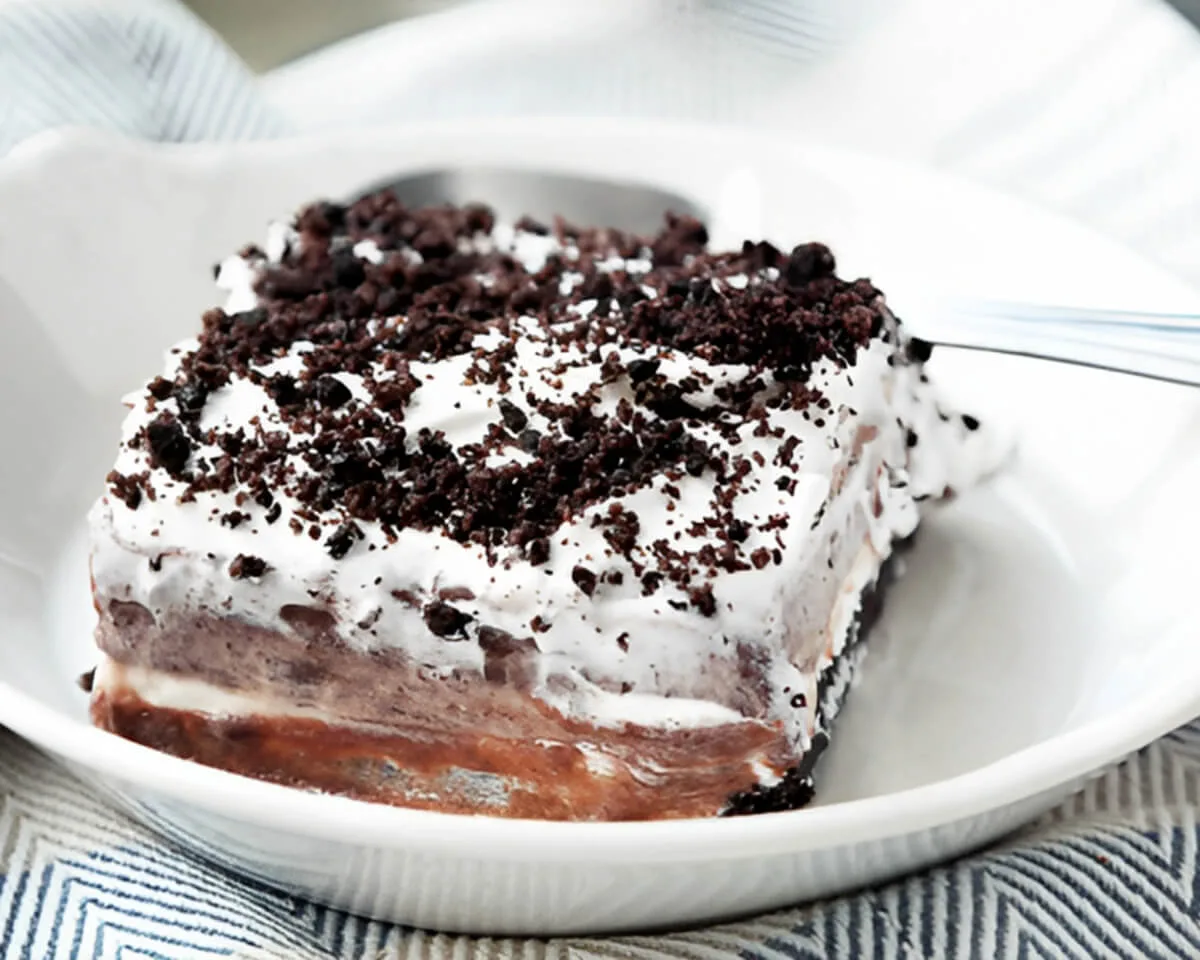
Imagine sinking your fork into a luscious cake that’s a medley of textures – the crunchy satisfaction of Oreo cookies combined with the moist, tender crumb of the cake. The layers of creaminess and decadence are enough to make anyone’s heart skip a beat. The Oreo Delight Cake isn’t just a dessert; it’s a sweet symphony that harmonizes every bite.
Gathering Your Baking Arsenal
Before you dive into creating your Oreo Delight Cake masterpiece, make sure you have the essential tools and ingredients ready. It’s like assembling the cast for a blockbuster movie – each element plays a crucial role in bringing your vision to life.
Your Baking Allies
- Mixing Bowls: Different sizes for cake batter, frosting, and Oreo crumbs.
- Electric Mixer: For whipping up cake batter and frosting with ease.
- Cake Pans: Choose your size – round or square – for those perfect layers.
- Spatulas: Essential for smoothing frosting and handling delicate cake layers.
- Parchment Paper: Ensures your cakes don’t stick to the pans.
- Cake Turntable: If you have one, it makes frosting a breeze.
- Offset Spatula: Perfect for achieving that smooth, professional finish.
The Star-Studded Ingredients
- Oreo Cookies: The heart and soul of this creation – both for the cake and decoration.
- All-Purpose Flour: The foundation of your cake layers.
- Granulated Sugar: For the right touch of sweetness.
- Unsalted Butter: Adds richness and moisture to the cake.
- Eggs: Bind your batter together and create structure.
- Cocoa Powder: For the rich chocolatey flavor.
- Baking Powder: Gives your cake layers a lift.
- Whole Milk: Adds creaminess to the batter.
- Vanilla Extract: Elevates the flavor profile.
- Heavy Cream: Essential for the luscious frosting.
- Cream Cheese: Adds tanginess and depth to the frosting.
- Powdered Sugar: Sweetens and stabilizes the frosting.
Crafting the Culinary Art: Oreo Delight Cake Recipe
Get ready to dazzle your taste buds and impress your loved ones with this Oreo Delight Cake recipe. Follow these steps meticulously, and you’ll soon be savoring a cake that’s as stunning as it is delicious.
1. Baking the Oreo Cake Layers
- Preheat your oven to 350°F (175°C).
- Prepare your cake pans by greasing them and lining the bottoms with parchment paper.
- In a bowl, whisk together 2 cups of all-purpose flour, 1 and ½ cups of granulated sugar, ½ cup of cocoa powder, 2 teaspoons of baking powder, and a pinch of salt.
- In another bowl, whisk together ¾ cup of melted unsalted butter, 3 large eggs, 1 cup of whole milk, and 1 teaspoon of vanilla extract.
- Gradually add the dry ingredients to the wet ingredients, mixing until just combined.
- Crush a handful of Oreo cookies (with the cream filling) and fold them into the batter for extra Oreo goodness.
- Divide the batter evenly between your prepared pans and bake for 25-30 minutes, or until a toothpick inserted into the center comes out clean.
- Let the cakes cool in the pans for about 10 minutes before transferring them to a wire rack to cool completely.
2. Whipping Up the Dreamy Frosting
- In a mixing bowl, beat 1 cup of softened cream cheese until smooth and creamy.
- Gradually add ½ cup of powdered sugar and beat until well combined.
- In a separate bowl, whip 1 cup of heavy cream until stiff peaks form.
- Gently fold the whipped cream into the cream cheese mixture until smooth and airy.
- Crush a few more Oreo cookies and gently fold them into the frosting for that signature Oreo crunch.
3. Assembling the Oreo Delight Cake
- Place one of the cooled cake layers on a serving platter.
- Spread a generous layer of the Oreo frosting on top.
- Carefully place the second cake layer on top of the frosting.
- Use the remaining frosting to generously coat the top and sides of the cake, creating a smooth finish.
- Now for the fun part – decorate with Oreo cookies! Arrange them artistically on top of the cake, pressing them gently into the frosting.
Savoring the Indulgence
As you take that first forkful of Oreo Delight Cake, you’re greeted with a burst of flavors and textures that dance on your palate. The cake layers, adorned with luscious Oreo frosting and cookie decorations, create an unforgettable experience that’s nothing short of heavenly.
Sharing the Sweetness
- Share a slice of Oreo Delight Cake with friends and family to witness their eyes light up with joy.
- Serve alongside a glass of cold milk for the ultimate Oreo experience – a nostalgic nod to dunking cookies as a kid.
- Pair with a scoop of cookies and cream ice cream for an extra layer of indulgence that amplifies the Oreo flavors.
Taking Your Oreo Delight Cake to New Heights
While the classic Oreo Delight Cake is a masterpiece in itself, you can unleash your creativity and take it to even greater heights with a few personalized touches.
The Drizzle Drama
- Drizzle warm chocolate ganache over the cake for a dramatic effect that enhances the chocolatey goodness.
The Nutty Dimension
- Sprinkle crushed toasted hazelnuts or chopped almonds between the cake layers for added crunch and depth.
In Conclusion
The Oreo Delight Cake isn’t just a cake; it’s an enchanting journey through layers of flavors and textures. With the perfect balance of chocolatey richness and Oreo cookie goodness, it’s a dessert that’s bound to become a favorite at any gathering. So, gather your ingredients, preheat the oven, and let the magic of Oreo and cake unfold.
FAQs: Oreo Delight Cake Unveiled
Q1: Can I use Double Stuf Oreo cookies?
Absolutely! Double the creaminess, double the delight. Double Stuf Oreo cookies are a perfect match for this cake.
Q2: Can I use a different type of cake for the layers?
Certainly! While the chocolate cake layers complement the Oreo flavors beautifully, you can experiment with vanilla or even red velvet cake for a unique twist.
Q3: How do I prevent the cake layers from sticking to the pans?
Make sure to line the bottoms of your cake pans with parchment paper and lightly grease the sides. This will help your cake layers release easily.
Q4: Can I make the frosting in advance?
Absolutely! You can prepare the frosting a day ahead and store it in the refrigerator. When you’re ready to use it, give it a gentle whip to restore its creamy texture.
Q5: How do I store the Oreo Delight Cake?
Store the cake in the refrigerator, covered with plastic wrap or in an airtight container, to keep it fresh. Allow it to sit at room temperature for a bit before serving to let the flavors shine.
Q6: Can I use store-bought frosting instead of making it from scratch?
Certainly! While homemade frosting offers a unique touch, store-bought frosting can be a convenient option if you’re short on time. Look for a vanilla or cream cheese frosting that complements the Oreo flavors.
Q7: Can I make this cake for a special occasion?
Absolutely! The Oreo Delight Cake is versatile and can be dressed up or down based on the occasion. Consider adding edible glitter or sprinkles for birthdays or using chocolate shavings for an elegant touch.
Q8: Can I use gluten-free flour for the cake?
Definitely! If you or your guests have dietary restrictions, you can substitute all-purpose flour with a gluten-free flour blend. Just ensure it’s suitable for baking.
Q9: How can I achieve clean and even cake layers?
Using cake strips can help achieve even baking and prevent the cake layers from doming. Alternatively, you can trim the domed tops gently with a serrated knife for a level surface.
Q10: Can I add a flavored twist to the frosting?
Absolutely! Amp up the flavor profile by adding a teaspoon of coffee extract to the frosting for a mocha twist or a teaspoon of peppermint extract for a refreshing touch.
Q11: Can I make this cake vegan?
Certainly! You can make vegan adaptations by using plant-based substitutes for butter, milk, and eggs. There are also dairy-free cream cheese and whipped cream options available for the frosting.
Q12: How do I prevent Oreo cookies from getting soggy?
To keep the Oreo cookies in the frosting from getting too soft, consider placing them on the cake shortly before serving. This ensures they retain their crunchiness.
Q13: Can I make cupcakes instead of a whole cake?
Absolutely! Simply divide the batter into cupcake liners and adjust the baking time accordingly. Pipe the Oreo frosting onto the cupcakes for a delightful handheld treat.
Q14: Can I use Oreo crumbs for decoration?
Definitely! Crushed Oreo crumbs can be sprinkled around the cake’s base for an added touch of elegance. They create a lovely contrast against the frosting.
Q15: Can I freeze the leftover cake?
Yes, you can! Wrap individual slices tightly in plastic wrap and store them in an airtight container in the freezer for up to a month. Thaw slices in the refrigerator before enjoying.