Introduction
In the world of baking, few things rival the warmth and comfort of a Snickerdoodle. Its cinnamon-sugar embrace has been a favorite treat for generations, making its way into cookies, muffins, and even pancakes. But what if we told you that this beloved classic could be transformed into a magnificent cake that takes indulgence to a whole new level? That’s right, we’re diving into the delectable world of Snickerdoodle Cake, where the charm of the past meets the decadence of the present.
Ingredients: Gathering the Essentials
Flour, sugar, and spice: the base
When embarking on a Snickerdoodle cake adventure, it’s essential to gather the right ingredients. The dry components are the foundation of your cake, and they include:
- 2 ¾ cups of all-purpose flour
- 1 ½ cups of granulated sugar
- 1 ½ teaspoons of baking powder
- 1 teaspoon of baking soda
- 1 teaspoon of salt
- 1 teaspoon of cream of tartar
The secret ingredient here is cream of tartar. It’s what gives Snickerdoodles their distinctive tang. Don’t skip it!
Butter, eggs, and vanilla: the richness
On the flip side, the wet ingredients are what infuse your cake with moistness and richness:
- 1 cup of unsalted butter (at room temperature)
- 4 large eggs
- 2 teaspoons of vanilla extract
The butter, in particular, plays a starring role. It brings that luscious, melt-in-your-mouth quality that every Snickerdoodle cake deserves.
Baking Magic: Step-by-Step Instructions
Mixing the dry and wet
Now that you’ve assembled your ingredients, it’s time to start the cake-making process. The key here is to find the perfect balance between the dry and wet components. In a separate bowl, combine the flour, baking powder, baking soda, salt, and that special cream of tartar. In another, cream together the softened butter and sugar until it’s light and fluffy.
The art of rolling dough
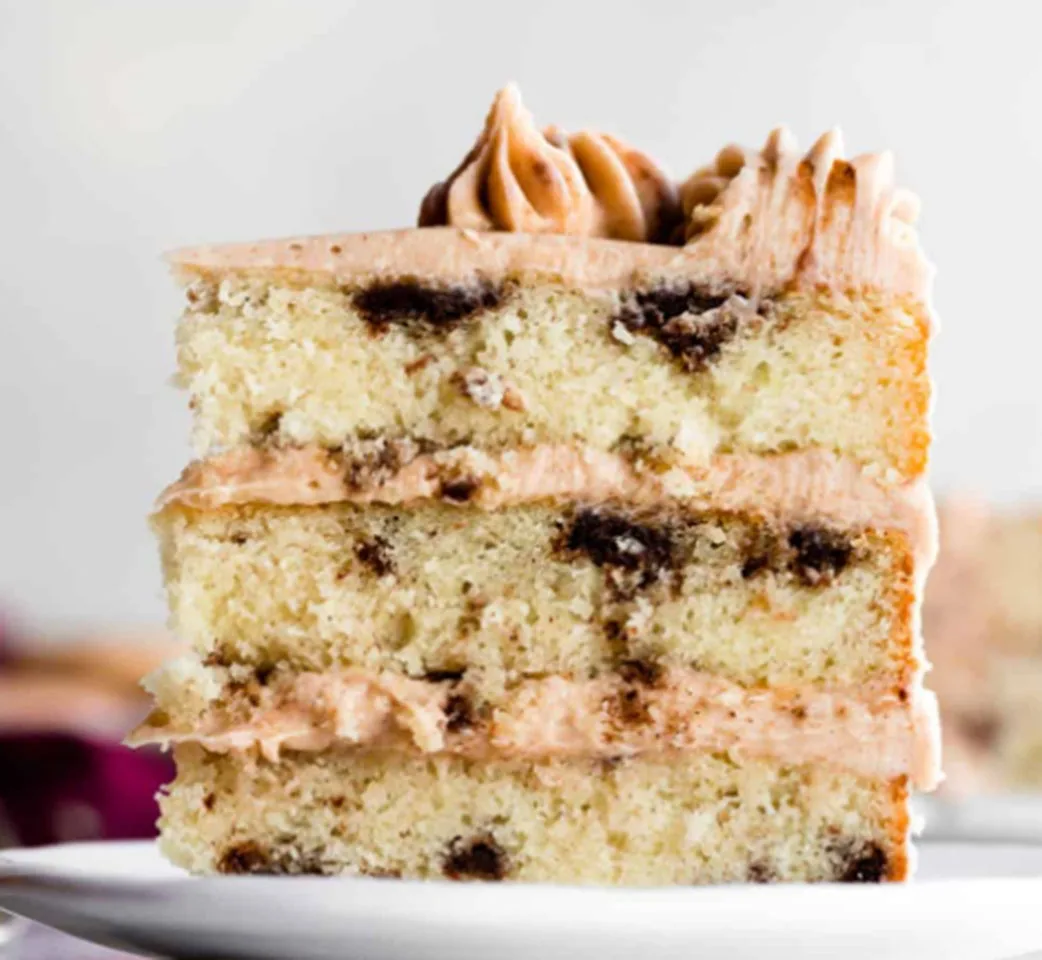
For that classic Snickerdoodle texture, it’s all about the layers. Divide your cake batter into three equal parts. Roll them into balls and then flatten them into discs. These layers will soon become the heart of your Snickerdoodle cake.
The Cinnamon Sugar Coating
And now, for the unmistakable Snickerdoodle flavor, the cinnamon sugar coating. In a small bowl, mix together:
- 3 tablespoons of granulated sugar
- 1 ½ teaspoons of ground cinnamon
Dip each cake layer into this mixture before you bake them. It’s this simple step that will give your cake its iconic flavor.
The Oven’s Warm Embrace
Preheating for perfection
Before you dive into the oven, make sure it’s properly preheated to 350°F (175°C). This ensures that your cake bakes evenly, maintaining its delightful texture.
Watching for golden perfection
The aroma of a Snickerdoodle cake baking is heavenly. But don’t let your senses carry you away just yet. Keep an eye on your creation. The baking time typically ranges from 25 to 30 minutes, but your cake is ready when the top is golden and a toothpick inserted into the center comes out clean.
Frosting and Finishing Touches
Cream cheese frosting
While your cake cools, it’s time to prepare the cream cheese frosting. You’ll need:
- 8 ounces of cream cheese
- ½ cup of unsalted butter (at room temperature)
- 4 cups of powdered sugar
- 2 teaspoons of vanilla extract
Blend these ingredients until you have a velvety frosting that’s perfect for your Snickerdoodle creation.
Decorative details
The presentation of your Snickerdoodle cake matters. A sprinkle of cinnamon sugar, a dusting of cocoa powder, or some artful icing can make your cake visually stunning. Remember, we eat with our eyes first.
Serving and Savoring
Portioning your delight
Cutting the perfect slice is an art. To avoid a crumbly mess, use a sharp knife dipped in hot water. This will give you a clean cut and showcase the layers inside.
Savoring the flavor
With your masterpiece sliced and ready to devour, savor every bite. The texture of the Snickerdoodle cake is unlike any other, combining a tender crumb with the crunch of the cinnamon-sugar coating. It’s a true celebration of flavor and texture.
Variations and Creativity
Swapping out ingredients
While the classic Snickerdoodle cake is a treat, you can always experiment to suit your dietary preferences. Try these variations:
- Making it gluten-free: Use a gluten-free flour blend.
- Vegan options for all to enjoy: Substitute eggs and butter with vegan alternatives.
Flavor experiments
If you’re feeling particularly creative, why not experiment with flavors? Here are a couple of ideas:
- Adding a twist with apple or pumpkin: Incorporate diced apples or pumpkin puree for a fruity or autumnal twist.
- Chocolate Snickerdoodle? Why not! You can never go wrong with a little cocoa in the mix.
The Social Aspect: Sharing Your Creation
Food photography tips
Now that you’ve created this work of art, why not share it with the world? Food photography can be a joy, so remember these tips:
- Lighting, angles, and close-ups: Natural light is your best friend. Experiment with angles to find the most flattering shot. Get up close to capture the details.
Sharing your recipe
If you’re proud of your Snickerdoodle cake (and you should be), why not share your recipe with friends and family? You could even start a food blog. Not only is it a great way to document your culinary journey, but it also allows you to connect with others who share your passion.
Troubleshooting and FAQs
My cake is too dense
If your Snickerdoodle cake turns out denser than you’d like, here are a few potential reasons and solutions:
- Overmixing: Be gentle when combining the wet and dry ingredients to avoid overdeveloping the gluten.
- Inactive leavening agents: Check the expiration date on your baking powder and baking soda.
- Incorrect measurements: Make sure you’re using accurate measuring cups and spoons.
Can I freeze Snickerdoodle cake?
Absolutely! To preserve the freshness of your cake, wrap it tightly in plastic wrap and place it in an airtight container before freezing. It should last for a few months. When you’re ready to enjoy it, allow it to thaw in the refrigerator before indulging.
Conclusion
In a world filled with baking possibilities, the Snickerdoodle cake stands out as a timeless classic that unites generations. It’s a simple yet delightful creation that carries the essence of comforting, home-baked treats. Whether you stick to the traditional recipe or venture into exciting variations, your Snickerdoodle cake is sure to bring smiles and satisfaction.
So, what are you waiting for? Embrace the magic of Snickerdoodle and create your own masterpiece. Share it with friends, family, and the world, and let the joy of baking become a delightful tradition in your life.
[tasty-recipe id=”3950″]