Indulging in the irresistible aroma of homemade blackberry cobbler is a delightful experience for any food enthusiast. Crafting this classic dessert is not just a culinary endeavor; it’s a journey that beckons you into the heart of traditional baking. Bursting with succulent blackberries, this cobbler is a symphony of flavors that dance on your taste buds.
To begin with, the recipe calls for fresh blackberries, plucked at the peak of ripeness. These juicy berries, with their natural sweetness, lay the foundation for a dessert that embodies the essence of summer. The process unfolds seamlessly as you mix the berries with sugar, allowing the sweetness to meld and intensify, creating a harmonious balance.
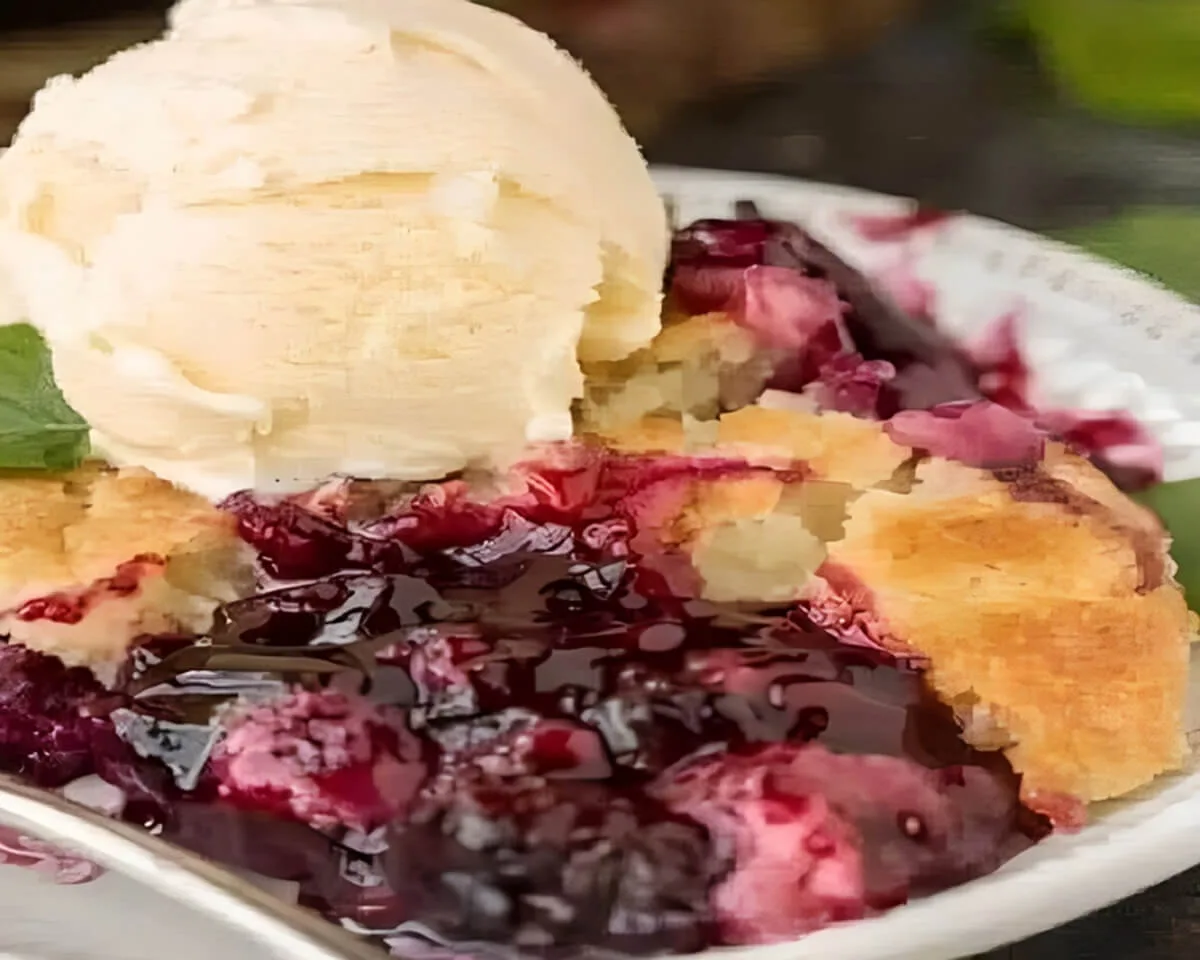
Next, the buttery, golden-brown crust emerges as the pièce de résistance. With every tender bite, the contrast between the crisp exterior and the soft, warm interior is a revelation. The artistry lies in achieving that perfect consistency, and the recipe generously imparts the secrets to mastering this culinary finesse.
Transitioning into the baking phase, the kitchen transforms into a sanctuary of warmth and anticipation. The tantalizing aroma wafts through the air, creating an atmosphere of comfort and nostalgia. It’s a sensory journey that invites you to savor the moments leading up to the grand reveal – a bubbling, bubbling blackberry concoction that beckons to be served.
Ingredients:
- 600 to 800 grams of blackberries
- 150 grams flour
- 80 grams fine sugar + 2 tablespoons
- 80 grams butter
- 50 grams coconut
- 1/2 teaspoon baking powder
- 3 tablespoons milk or vegetable milk
Directions:
- Wash the blackberries well and drain them. Place them in an ovenproof dish (ideally a pie plate), then sprinkle with 2 tablespoons of sugar. Mix and set aside.
- In a bowl, place the flour, sugar, coconut, baking powder, butter cubes, and coconut. Mix by hand until the dough is half shortbread and half compact.
- Add milk and mix everything together.
- Leave it to rest for half an hour in the refrigerator.
- After this time, collect the dough. Cut small pieces of dough the size of a walnut. Roll it into a ball and crush it with the palm of your hand to form discs about 4 cm in diameter.
- Cover the blackberries with these discs.
- Bake for 30 minutes at 180 °C.
- Serve warm or at room temperature.
In conclusion, homemade blackberry cobbler is not just a dessert; it’s a testament to the joy of creating something extraordinary from simple ingredients. With each step, the process unfolds like a cherished family tradition, promising a delightful culinary experience that lingers in both memory and taste.