Indulging in autumn’s culinary delights, especially during the Halloween and Thanksgiving seasons, is a time-honored tradition. It’s when we celebrate the bountiful harvest, cozy up to the warmth of our homes, and savor the rich and comforting flavors of the season. Among the many delectable treats that grace our tables, the “Mini Pumpkin Cheese Balls” stand out as charming and irresistible creations that capture the essence of fall in every bite.
As the leaves change colors and the air becomes crisp, the pumpkin takes center stage in kitchens around the world. From pumpkin pies to lattes, this vibrant gourd’s versatility knows no bounds. The “Mini Pumpkin Cheese Balls” are a delightful addition to this lineup, offering a perfect balance of savory and sweet flavors, all while paying homage to the quintessential symbol of fall – the pumpkin.
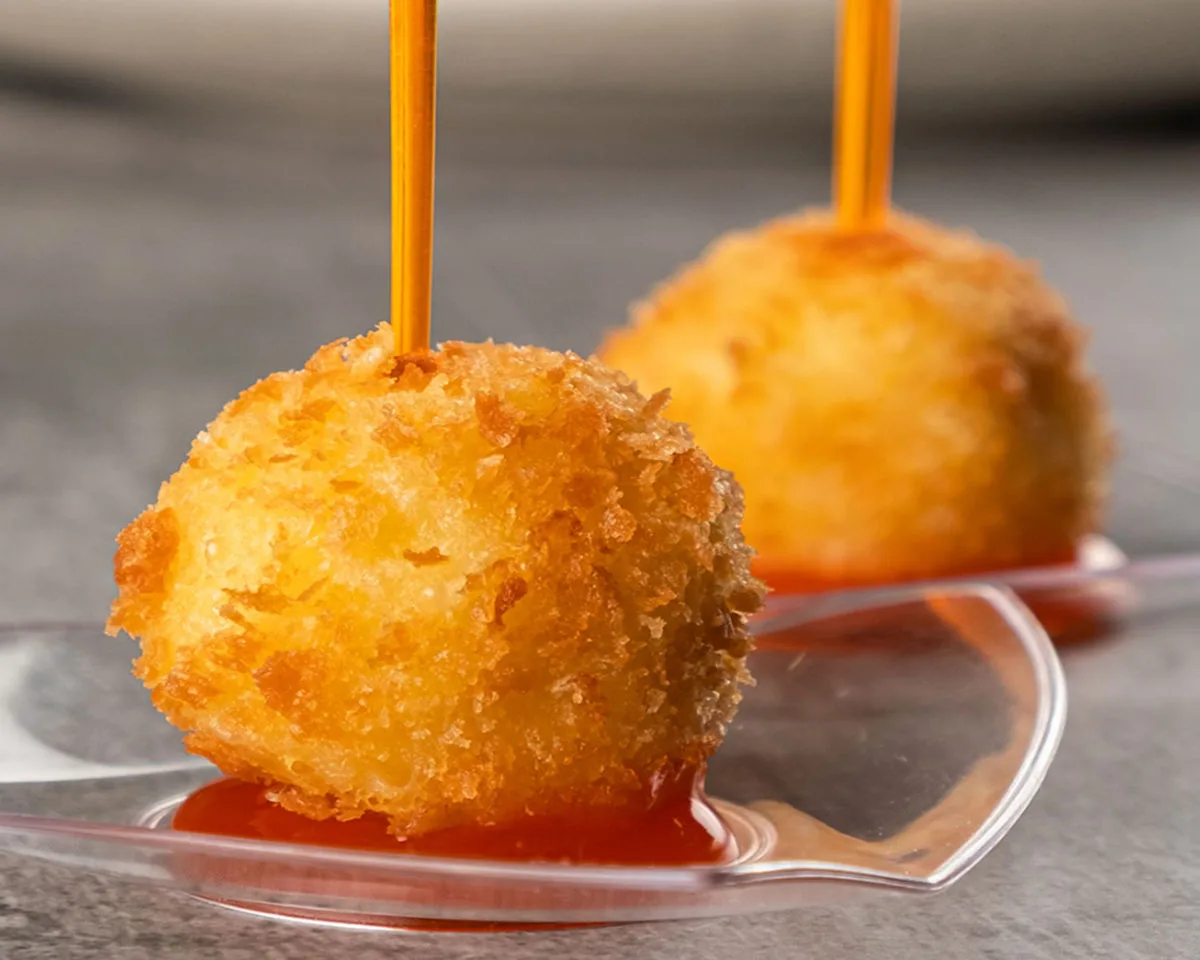
These petite cheese balls, adorned with an adorable pumpkin shape, are a visual feast and a treat for your taste buds. They’re not only delicious but also a whimsical addition to your autumn or Halloween gatherings, making them the perfect appetizer or snack for seasonal parties. Their charming appearance and scrumptious taste add an extra layer of festivity to your table.
Join us on a culinary journey through the creation of these delectable, bite-sized delights that offer a taste of fall, a dash of creativity, and a whole lot of deliciousness. With the “Mini Pumpkin Cheese Balls” recipe, your taste buds are in for a delightful autumn adventure.
Ingredients:
– 8 ounces cream cheese, softened
– 1/2 cup shredded cheddar cheese
– 2 tablespoons bacon pieces
– 1/2 cup finely crushed nacho cheese Doritos
– 7 pretzel sticks, broken in half
Instructions:
1. For the Cream Cheese Mixture:
– In a medium bowl, combine the softened cream cheese, shredded cheddar cheese, bacon pieces, and garlic. Stir until the mixture is well-blended.
2. Shaping the Cheese Balls:
– Using a cookie scoop, gather rounded spoonfuls of the cheese ball mixture and place them on a plate or platter. Once all the scoops are formed, roll them into small balls.
3. Coating with Doritos:
– Crush the nacho cheese Doritos into fine crumbs and place them in a small, shallow bowl.
– Roll each cheese ball in the crushed Doritos until they are fully coated. Place the coated cheese balls on a tray or plate lined with wax paper.
4. Adding Pretzel Stems:
– Break the pretzel sticks in half, and gently insert one half into the center of each coated cheese ball. These will act as the “stems” for your mini cheese pumpkins.
5. Chilling and Serving:
– Refrigerate the cheese balls for at least 1 hour to allow them to set and firm up.
– Serve these adorable pumpkin-shaped mini cheese balls with your favorite crackers, creating a delightful and savory treat that’s perfect for any autumn gathering or Halloween party.
These whimsical mini cheese balls, shaped like pumpkins and bursting with flavor, will add a touch of fun and deliciousness to your seasonal celebrations. Enjoy crafting and savoring these bite-sized delights with your friends and family.