
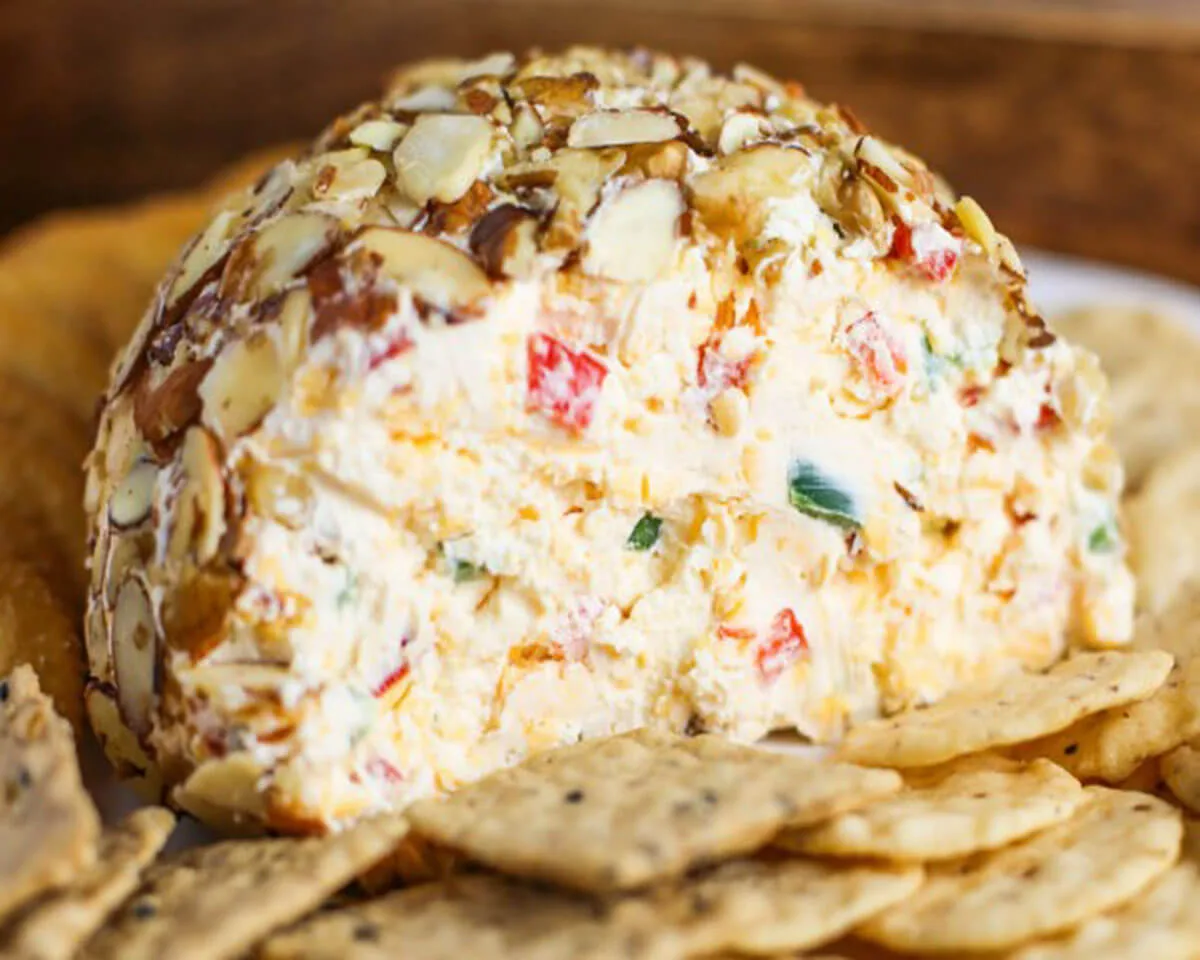
I still remember the first time I set a Turkey Cheeseball on the center of my Thanksgiving appetizer table. The room was buzzing with the usual holiday chaos—family members arguing over the football game and children running through the kitchen—but the moment I unveiled this whimsical little bird, the room went silent for a beat. Then, the laughter and the cameras came out. It is funny how a simple blend of cream cheese and cheddar, when shaped into an adorable turkey, can instantly become the heart of a party. I spent years making standard, round cheeseballs that tasted great but lacked that “wow” factor. Once I mastered the structure of the Turkey Cheeseball, there was no going back. It is a brilliant way to show off your creative side while providing a savory, addictive snack that keeps people coming back for just one more cracker. You do not need to be an expert food stylist to create a Turkey Cheeseball that looks professional and tastes incredible. It is all about the chilling time and the quality of your bacon.
Why the Turkey Cheeseball is the Perfect Holiday Centerpiece
The Turkey Cheeseball is more than just a snack; it is a conversation starter. In a sea of traditional dips and vegetable trays, this appetizer stands out because of its playful personality. However, do not let the cute exterior fool you. Underneath those pretzel feathers is a sophisticated blend of sharp cheddar, smoky bacon, and zesty ranch seasoning. It balances the creamy texture of the cheese with the crunch of the bacon coating and the salty snap of the pretzel rod “neck.” It is a multi-sensory experience that perfectly captures the spirit of holiday indulgence.
The Science of a Stable Cheeseball
When you are building a structure like a Turkey Cheeseball, the consistency of your base is paramount. You are asking the cheese to support the weight of a pretzel rod and multiple pretzel twists without sagging or collapsing. This is why we use a specific ratio of cream cheese to sour cream. The cream cheese provides the structural integrity, while the sour cream adds just enough moisture to make the dip spreadable once a guest dives in with a cracker. Without the proper chilling time, your turkey might lose its shape before the main course even begins, so patience is your most important tool.
Choosing Your Cheese and Bacon
For the best flavor in your Turkey Cheeseball, I always recommend shredding your own cheddar cheese from a block. Pre-shredded cheeses are coated in potato starch to prevent clumping, which can interfere with the smooth texture of your cheeseball. By grating it yourself, you ensure a creamy mouthfeel and a bolder flavor. Additionally, the bacon coating is what truly brings the “wow” factor. Use thick-cut bacon and cook it until it is extra crispy. The crunch of the bacon provides a necessary contrast to the velvety cheese mixture inside, making every bite a perfect balance of textures.
Step-by-Step Construction of the Turkey Cheeseball
Creating the Turkey Cheeseball is a two-phase process: the mixing and the sculpting. Giving yourself enough time for each phase ensures a stress-free hosting experience.
Mixing the Flavorful Base
You start by combining the softened cream cheese and sour cream in a large bowl. If you find the cream cheese is still a bit cold, do not hesitate to use a hand mixer to ensure there are no lumps. Once smooth, you fold in the ranch seasoning, garlic powder, and red pepper flakes. The red pepper flakes add a subtle warmth that cuts through the richness of the dairy, while the ranch seasoning provides that familiar, tangy herb profile that everyone loves. Finally, you stir in your freshly shredded cheddar and a portion of the crumbled bacon. This ensures that the smoky bacon flavor is present both inside and outside the Turkey Cheeseball.
The Shaping and Chilling Phase
This is where the Turkey Cheeseball begins to take form. You set aside a small amount of the mixture—about three tablespoons—to serve as the head. Wrap the large portion and the small portion separately in plastic wrap. Using the plastic wrap allows you to mold the cheese into perfect spheres without getting your hands messy or warming up the cheese with your palms. These balls must go into the refrigerator for at least four hours. Overnight is even better, as it allows the spices to meld and the fats to solidify completely, ensuring your turkey remains upright during the party.
| Ingredient | Role in the Appetizer | Pro Tip |
| Cream Cheese | Structural Base | Use full-fat blocks for better stability |
| Sour Cream | Smoothness | Adds a subtle tang to the ranch profile |
| Sharp Cheddar | Primary Flavor | Shred it yourself for a creamier texture |
| Bacon Crumbles | Texture and Smoke | Cook until very crisp so it stays crunchy |
| Pretzel Rod | The Turkey Neck | Choose a thick rod to support the head |
Assembling the Turkey Features
Once your cheese spheres are firm and cold, it is time for the most fun part of the Turkey Cheeseball process: the assembly. This is where your creation truly comes to life.
Building the Head and Neck
You will use a large pretzel rod as the internal skeleton for your Turkey Cheeseball. Insert the rod about half an inch into the small cheeseball. This small ball will be the turkey’s head. To give it personality, add two candy eyes and a small corner of a cheddar cheese block to act as the beak. You can even use a small piece of red bell pepper as a “wattle” if you want to get extra detailed. Once the head is ready, push the other end of the pretzel rod into the front of the large cheeseball at a slight angle. This creates a sturdy neck that can support the head without tipping over.
Creating the Pretzel Tail Feathers
The “feathers” of your Turkey Cheeseball are made from various sizes of pretzels. Start at the back of the large cheeseball by pressing large pretzel twists into the cheese in a fan shape. You want them to overlap slightly to create a full, lush tail. In front of those, add a row of mini pretzels to provide depth and variety. The saltiness of the pretzels pairs beautifully with the ranch-flavored cheese. Because the cheeseball is cold and firm, it should hold these pretzels upright with ease, creating a dramatic silhouette that mimics a turkey in mid-strut.
Final Coating and Presentation
The last step in your Turkey Cheeseball journey is the outer coating. This provides the “feathers” on the body and hides any imperfections in the cheese surface.
Applying the Bacon “Plumage”
Take the remaining bacon crumbles and gently press them into the surface of both the large cheeseball and the small head. You want a thick, even coat so that no white cheese is visible. The dark, golden-brown bacon creates a realistic look for the turkey’s body. Use a spoon to get bacon into the tight spots around the pretzel rod and the base of the tail. This coating doesn’t just look great; it protects the Turkey Cheeseball from drying out while it sits on your appetizer table.
Serving Suggestions for Your Guests
Place your finished Turkey Cheeseball on a large platter or a wooden cutting board. Surround the turkey with an assortment of crackers, toasted baguette slices, and extra pretzels. I also love to add some grapes or apple slices to the platter; the sweetness of the fruit provides a lovely counterpoint to the salty bacon and savory ranch cheese. For the best experience, keep the turkey chilled until the very moment your guests arrive. A cold cheeseball is easier to scoop and maintains its adorable shape throughout the evening.
Tips for Storage and Make-Ahead Prep
The Turkey Cheeseball is a fantastic make-ahead appetizer, which is essential for busy holiday hosting. You can prepare the cheese mixture up to two days in advance.
How to Keep It Fresh
Store the cheese spheres wrapped tightly in plastic wrap in the refrigerator. However, I recommend waiting until the day of your event to add the pretzel rod and the outer bacon coating. Pretzels can become soft and lose their crunch if they sit in the moist cheese for too long. By assembling the “feathers” and the bacon exterior a few hours before the party, you ensure every element is at its peak texture. If you have leftovers, you can simply remove the pretzels and store the remaining cheese in an airtight container for up to three days.
Transporting Your Turkey
If you are taking your Turkey Cheeseball to a potluck, I suggest transporting the cheese balls and the pretzels separately. Assemble the turkey once you arrive at your destination. This prevents the “neck” from snapping during the car ride and ensures your turkey looks perfect when it hits the table. It only takes about five minutes to assemble once the cheese is chilled, making it a very travel-friendly option for holiday visitors.
Frequently Asked Questions
Can I use a different type of nut instead of bacon?
Yes, if you prefer a vegetarian Turkey Cheeseball, you can replace the bacon crumbles with toasted chopped pecans or walnuts. The nuts will still provide a great brown color and a satisfying crunch that fits the turkey theme perfectly.
Why is my cheeseball too soft to hold the pretzels?
This usually happens if the cream cheese wasn’t chilled long enough or if too much sour cream was added. Make sure you use the full 4-hour chilling time. If you are in a rush, thirty minutes in the freezer can help firm it up quickly, but be careful not to actually freeze the cheese.
Where can I find candy eyes?
Candy eyes are usually found in the baking aisle of most grocery stores or at craft stores. If you cannot find them, you can use small pieces of black olives or peppercorns to create the eyes for your Turkey Cheeseball.
Is ranch seasoning the same as ranch dip mix?
No, you should specifically look for powdered ranch seasoning. Ranch dip mix often contains different thickeners and a much higher salt content, which can make your Turkey Cheeseball overly salty and change the consistency of the cheese.
Conclusion
The Turkey Cheeseball is a testament to the fact that food should be fun. It combines the nostalgic flavors of a classic cheese dip with a creative presentation that brings a smile to everyone’s face. By following the steps of chilling and careful assembly, you create a centerpiece that is both a work of art and a delicious treat. This appetizer proves that you do not need expensive ingredients to make a lasting impression on your guests. The mix of sharp cheddar, smoky bacon, and salty pretzels creates a flavor profile that is universally loved and perfectly suited for any festive gathering. Whether you are hosting a formal Thanksgiving dinner or a casual autumn get-together, the Turkey Cheeseball is guaranteed to be the star of the show. So, grab your mixing bowl, fry up some bacon, and get ready to sculpt the most adorable and delicious appetizer your friends and family have ever seen. Enjoy the compliments and the festive spirit that this little cheese bird brings to your home!
Full recipe:
Ingredients:
- 12 ounces (1 ½ blocks) cream cheese, softened
- ½ cup sour cream
- 1 ½ cups freshly shredded cheddar cheese
- 1 small corner piece of a cheddar cheese block
- 3 tablespoons powdered ranch seasoning (NOT ranch dip mix)
- ½ tablespoon red pepper flakes
- ½ tablespoon garlic powder
- 8 slices of bacon, cooked and crumbled (divided)
- 1 large pretzel rod
- 3 or more large pretzel twists
- 5 or more mini pretzels
- 2 candy eyes
Instructions:
- In a large bowl, combine the sour cream with the softened cream cheese. If the cream cheese isn’t entirely softened, using a mixer might be helpful.
- Add the ranch seasoning, red pepper flakes, and garlic powder to the cream cheese mixture. Mix thoroughly.
- Combine the cheddar cheese and 1/3 cup of bacon crumbles with the mixture until well mixed.
- Set aside 3 tablespoons of the mixture. Lay out a large sheet of plastic wrap and place the remaining cheeseball mixture in the center. Wrap the mixture in the plastic wrap, forming a ball. This makes shaping the ball easier through the plastic wrap.
- Repeat the process with the 3 tablespoons of cheeseball mixture set aside; this will be the turkey’s head.
- Refrigerate the cheeseballs for at least 4 hours or overnight until they’re chilled and solid, holding their ball shape.
- To form the turkey’s head, insert a pretzel rod about ½ inch into the small cheeseball. Add the cheddar cheese block corner as the beak and the candy eyes. Place the other end of the pretzel rod into the top front of the large cheeseball to support the weight of the head.
- For the turkey tail, arrange the large pretzel twists at the back of the cheeseball, slightly overlapping but side by side. Press them firmly so the cheeseball holds the pretzels upright. Place the small pretzel twists in front of the large ones.
- Finally, pack the remaining bacon crumbles around the outside of the cheeseball and turkey head using a spoon or your hands to coat the cheeseball turkey.
- Keep the prepared cheeseball turkey chilled and covered until ready to serve. Serve cold with pretzels and assorted crackers.