
Ultimate Guide to the Best Homemade Traditional Eggnog Recipe

The first time I tasted real, stovetop eggnog, it was a snowy Christmas Eve at my grandmother’s house in Vermont. I remember the heavy glass mug warming my hands while the scent of freshly grated nutmeg filled the living room. Before that night, I only knew the yellow stuff from a plastic carton, but this was different. It was thick, velvety, and felt like drinking a melted cloud of holiday magic. My grandmother would stand at the stove, whisking with a rhythmic focus, telling me that the secret wasn’t just the cream, but the patience. It’s a memory that sticks with me every time the temperature drops. Now, I make this traditional eggnog recipe every December to keep that spark alive. It’s a rich, decadent treat that turns a simple evening into a festive occasion. Once you skip the store-bought version and craft this yourself, you’ll realize why this drink has survived for centuries. It’s not just a beverage; it’s a holiday hug in a cup.


Mastering the Best Traditional Eggnog Recipe

Creating a high-quality holiday drink requires more than just mixing eggs and milk. You need to understand the science of emulsification to achieve that iconic, silky texture. Many people fear making eggnog from scratch because they worry about raw eggs or a grainy consistency. However, this traditional eggnog recipe uses a gentle cooking method that ensures safety while maintaining a lush mouthfeel. Using the freshest whole milk and heavy cream you can find makes a world of difference in the final result.

Choosing Your Quality Ingredients

The foundation of any great eggnog is the quality of your dairy and eggs. You should always use whole milk rather than skim or low-fat options. The fat content in whole milk and heavy cream provides the necessary body that characterizes a true holiday elixir. For the eggs, look for large, fresh yolks with a vibrant orange color, as these contribute to the rich golden hue of the drink. Since nutmeg is the primary spice, try to use a whole nut and grate it yourself; the aromatic oils in freshly grated nutmeg are much more potent than the pre-ground variety found in jars.

The Role of Temperature and Timing

Precision is vital when you are working with egg-based custards. You never want to rush the process by turning the heat up too high. If the mixture boils, the eggs will curdle, and you will end up with sweet scrambled eggs instead of a smooth beverage. Maintaining a medium heat and stirring constantly allows the proteins to bond slowly with the sugars and fats. This patience results in a thick, pourable consistency that coats the back of a spoon perfectly, providing that luxurious experience every holiday guest craves.


Essential Steps for a Velvety Texture

Achieving the perfect consistency is the hallmark of an experienced holiday host. The transition from separate ingredients to a cohesive, creamy liquid happens during the tempering phase. This is the most critical part of the traditional eggnog recipe because it bridges the gap between the cold egg yolks and the hot dairy. By following a specific order of operations, you ensure that your drink remains smooth and free of any lumps or inconsistencies.

The Art of Tempering Eggs

To start your traditional eggnog recipe, you must whisk your egg yolks and sugar until they are pale and thick. While your milk and cream reach a near-simmer in the saucepan, prepare to temper. Slowly drizzle about half a cup of the hot milk into your egg mixture while whisking vigorously with your other hand. This gradually raises the temperature of the yolks without shocking them. Once the egg mixture is warm to the touch, you can safely pour it back into the main saucepan to finish thickening without the risk of scrambling.

Cooking to the Perfect Thickness

Once all your ingredients are back in the saucepan, you must remain vigilant. Continue to stir the liquid in a figure-eight motion, making sure to scrape the bottom and corners of the pan. You are looking for the mixture to reach approximately 160°F. At this point, the liquid will visibly thicken and take on a glossy sheen. If you can draw a clear line with your finger through the coating on the back of your spoon, your eggnog is ready. Remove it from the heat immediately to stop the cooking process.


Infusing Festive Flavors and Spirits

The beauty of a homemade drink is the ability to control the flavor profile. While the base of the traditional eggnog recipe is sweet and creamy, the spices and optional spirits provide the necessary balance. These aromatic additions transform the custard into a complex, multi-layered beverage that lingers on the palate.

Ingredient Purpose Benefit
Whole Milk Base Liquid Provides a light, drinkable foundation
Heavy Cream Richness Creates the signature velvety texture
Ground Nutmeg Primary Spice Adds a warm, woody, and festive aroma
Vanilla Extract Flavor Depth Bridges the sweetness of sugar and cream

Adding Spices and Extracts

After removing the thickened mixture from the heat, it is time to add your aromatics. Stir in the vanilla extract, ground nutmeg, and a pinch of cinnamon. Adding these at the end preserves their volatile oils, ensuring the scent is as powerful as the taste. If you prefer a more modern twist, you can also add a tiny pinch of sea salt to enhance the sweetness or a splash of maple syrup for a New England flair. The warmth of the liquid will help the spices bloom and distribute evenly throughout the batch.

Incorporating Your Preferred Spirits

If you are preparing a version for adults, now is the time to add your choice of alcohol. Bourbon offers a smoky, caramel-like sweetness that pairs beautifully with the vanilla. Dark rum provides a more tropical, molasses-heavy undertone, while brandy gives the eggnog a classic, sophisticated finish. Start with half a cup and taste as you go; the alcohol also acts as a preservative, allowing the eggnog to “age” in the refrigerator if you decide to make it several days in advance.


Chilling and Serving Suggestions

Eggnog is a dish that benefits significantly from a “rest” period. While you can drink it warm, the traditional experience involves a thorough chill. This allows the spices to fully infuse the dairy and the texture to set into its final, most decadent form.

The Importance of Proper Chilling

Transfer your finished eggnog into a glass pitcher or individual jars. Allow the mixture to cool to room temperature on the counter before sealing it and placing it in the refrigerator. You should chill the eggnog for at least four hours, but an overnight rest is even better. As the liquid cools, the flavors of the nutmeg and cinnamon become more integrated, and the thickness increases slightly. This resting period is what gives the traditional eggnog recipe its world-class depth.

Garnishing and Presentation Tips

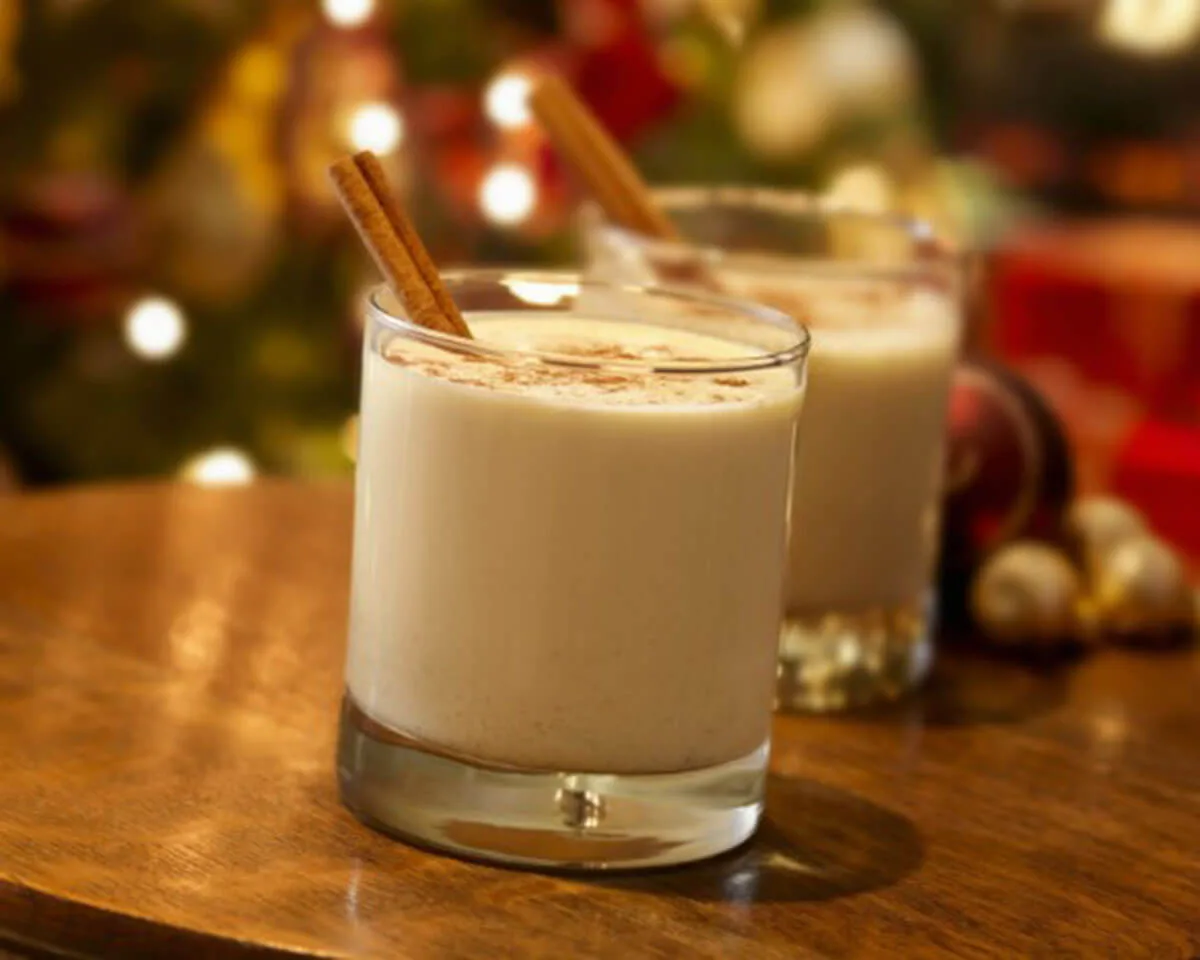
When you are ready to serve, give the pitcher a good stir to ensure everything is well-mixed. Pour the eggnog into small glass cups or festive mugs. For a professional touch, use a microplane to grate a fresh dusting of nutmeg over the top of each drink right before serving. You can also add a cinnamon stick for stirring or a dollop of lightly whipped cream. If you want to go the extra mile, rim your glasses with a mixture of sugar and cinnamon to make every sip feel like a special event.


Frequently Asked Questions

Why did my eggnog turn out lumpy?

Lumps usually occur if the heat was too high or if the eggs were not tempered correctly. If this happens, don’t worry! You can easily fix it by pouring the eggnog through a fine-mesh strainer into a clean bowl. This will remove any small bits of cooked egg and restore the smooth texture you desire.

Can I use a sugar substitute for this recipe?

Yes, you can use monk fruit sweetener or erythritol in place of granulated sugar. However, keep in mind that sugar helps provide some of the body and “mouthfeel” of the drink. If you use a substitute, the eggnog might feel slightly thinner, but the flavor will still be excellent.

How long does homemade eggnog stay fresh?

Non-alcoholic eggnog stays fresh in the refrigerator for about three to four days. If you add a significant amount of high-proof alcohol (like bourbon or rum), the shelf life extends. Some people even age “spiked” eggnog for several weeks, though for this specific cooked recipe, one week is a safe limit.

Is it safe to drink this eggnog?

Absolutely. Because this recipe requires heating the egg mixture to 160°F, the eggs are fully pasteurized. This eliminates the risks associated with raw egg consumption, making it safe for most people to enjoy during the holiday season.


Conclusion

Savor the warmth and festive charm of the holiday season with our Festive Spice Elixir. This unique rendition of the classic eggnog promises a rich and flavorful experience that will create lasting memories. Whether enjoyed by the fireside or as a centerpiece for your next holiday party, this traditional eggnog recipe brings a sense of timeless elegance to your table. The combination of rich cream, aromatic nutmeg, and a hint of vanilla creates a tapestry of holiday memories in every glass. By taking the time to temper your eggs and chill your batch properly, you are participating in a culinary ritual that transcends generations. Don’t settle for anything less than the best this year. Put on some holiday music, get your whisk ready, and treat your loved ones to a sip of pure winter magic. Happy holidays and enjoy your homemade creation!

Full recipe:

Ingredients:

  • 6 large egg yolks
  • 3/4 cup granulated sugar
  • 2 cups whole milk
  • 1 cup heavy cream
  • 1 teaspoon vanilla extract
  • 1/2 teaspoon ground nutmeg
  • 1/4 teaspoon ground cinnamon
  • Optional: 1/2 cup to 1 cup of your preferred spirit (rum, brandy, bourbon)

Instructions:

  1. Separate Eggs: In a mixing bowl, separate the egg yolks from the whites. Set the whites aside for another use or discard.
  2. Beat Yolks with Sugar: Whisk the egg yolks together with the granulated sugar until the mixture becomes smooth and light in color.
  3. Combine Ingredients: In a saucepan, combine the milk and heavy cream. Heat the mixture over medium heat until it is just about to simmer. Do not let it boil.
  4. Temper the Eggs: Slowly pour a small amount of the hot milk mixture into the egg yolk mixture while whisking continuously. This is to temper the eggs, preventing them from scrambling.
  5. Combine All: Pour the tempered egg mixture back into the saucepan with the remaining hot milk mixture, stirring constantly.
  6. Cook to Thicken: Cook the mixture over medium heat, stirring constantly, until it thickens enough to coat the back of a spoon. This is usually around 160°F (71°C), but be cautious not to let it boil.
  7. Add Flavorings: Remove the mixture from heat and stir in vanilla extract, ground nutmeg, and ground cinnamon. If you’re adding a spirit, incorporate it at this stage.
  8. Chill: Allow the Eggnog to cool to room temperature, then refrigerate it for at least 2-4 hours, or preferably overnight.
  9. Serve: Before serving, give the Eggnog a good stir. Optionally, garnish with a sprinkle of nutmeg on top.

Conclusion:

Savor the warmth and festive charm of the holiday season with our Festive Spice Elixir. This unique rendition of the classic eggnog promises a rich and flavorful experience that will create lasting memories. Whether enjoyed by the fireside or as

Leave a Comment